


APOCATRON 5.0….coming soon!

Apocatron 4.0
Ello ello ello and welcome to the next instalment of turning my standard VW T3 Syncro into the perfect 4WD expedition vehicle for the zombie apocalypse…some people say I have too much time on my hands…but they wont be laughing when the living dead flip over their hatchback…so hah. The van has had a huge amount of upgrades since the 3.0 entry, so lets get started! N.B. this is work completed six months ago and the van’s ready for Apocatron 5.0 before December 2018…stay tuned!
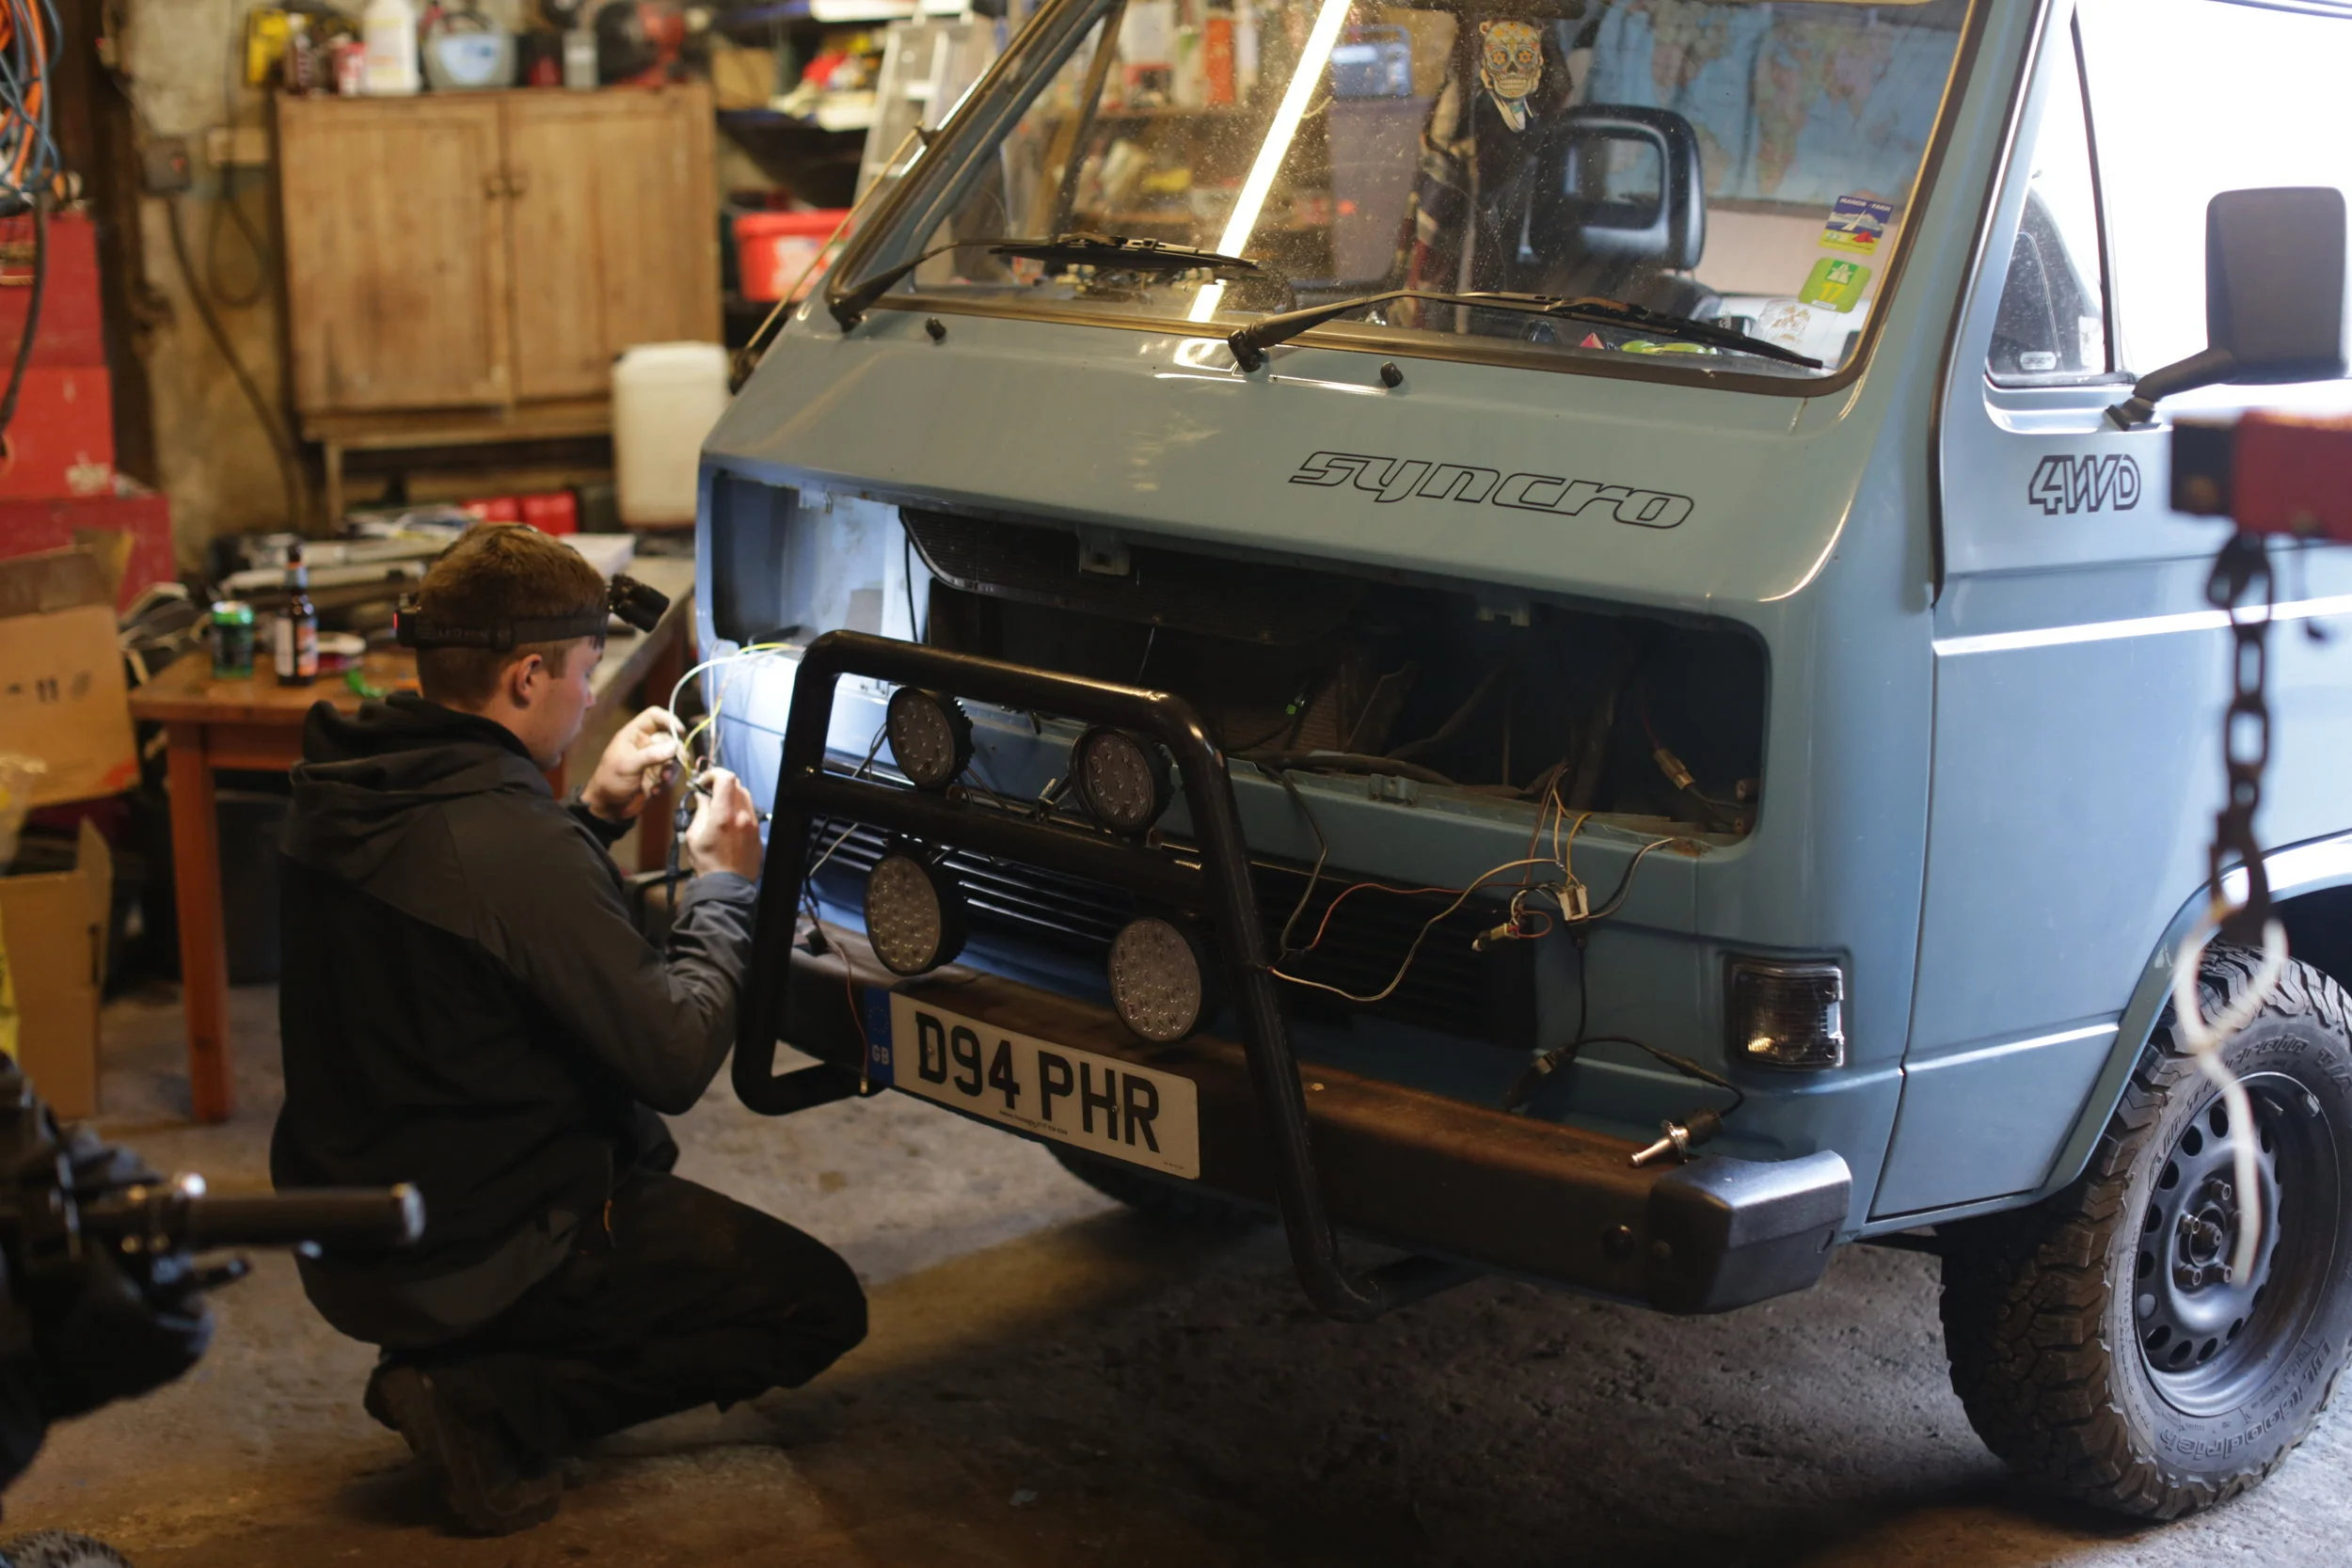
Bull Bar: I’d been in the market for a bull bar for the last year or so but the standard VW options tended to be way too heavy. There are plenty of really nice aftermarket options from the likes of Rocky Mountain Westy but at £800+ there’s no way I can justify the cost. In the end I was able to pick up this custom made minimal Syncro bull bar on Ebay and its been great.
Spot Lights: I spend a huge amount of my life on the road exploring super remote locations and even with my upgraded LED headlights I often require more light on the road ( particularly in the Highlands where the roads are literally lined with deer ). Consequently, I invested in four new high powered LED Spots that fit on my bull bar brackets. These lights are excellent at providing a very long distance focused spot that picks out potholes/animals at a far greater distance than my standard LED high beam.
Safe box: A couple of years back my van was completely done over in Spain and I learnt a hard lesson about van security. The reality is that if a criminal wants to get into your van bad enough there’s really nothing to stop them so the best advice is not to leave anything of value in the van when left for an extended period of time. Nevertheless, there’s no harm in making it as difficult as possible ( for example: pedal lock, dead locks, immobiliser, steering wheel lock, alarm, safe, hidden ignition switch…etc ). Thus, I commissioned a custom safe box for below the rear passenger seat. However, this is not for leaving valuables in the van, rather a quick fix for quick service stations stops when lugging my gear isn’t practical.


Propshaft refurbishment: Those of you who follow my van build may remember me taking half the van apart to try and identify a horrendous grinding sound from under the van ( ended up being the sound of the exhaust vibrating off the underside protection when under load). Anyways, in the process I discovered there was play in the prop and was advised it was sensible to get it serviced to prevent wear on the front diff. The work was carried out last autumn when I was in Scotland and I ran the van in 2WD for four months, which ultimately confirmed that a 4WD Syncro was essential to my lifestyle. I get a lot of questions about the van and whether 4WD is important and I think for most vanlifers it’s non-essential but for me it’s a deal breaker. I actively seek out the most remote locations possible for adventure photography and despite the huge All Terrain tyres/ride height I got stuck several times during this period. December 2017 I was finally able to reattach the prop and I cant even begin to tell you how incredible it felt to get the 4WD up and running, especially as I headed to the most northern tip of Skye during the huge snow storm that hit the Highlands in that month ( I was able to traverse roads with a foot of snow and shocked my friends in Skye who hadn’t even been able to get up there drive…I’d just driven hundreds of miles of mountain roads…the Syncro truly is astonishing when the going gets tough! ).

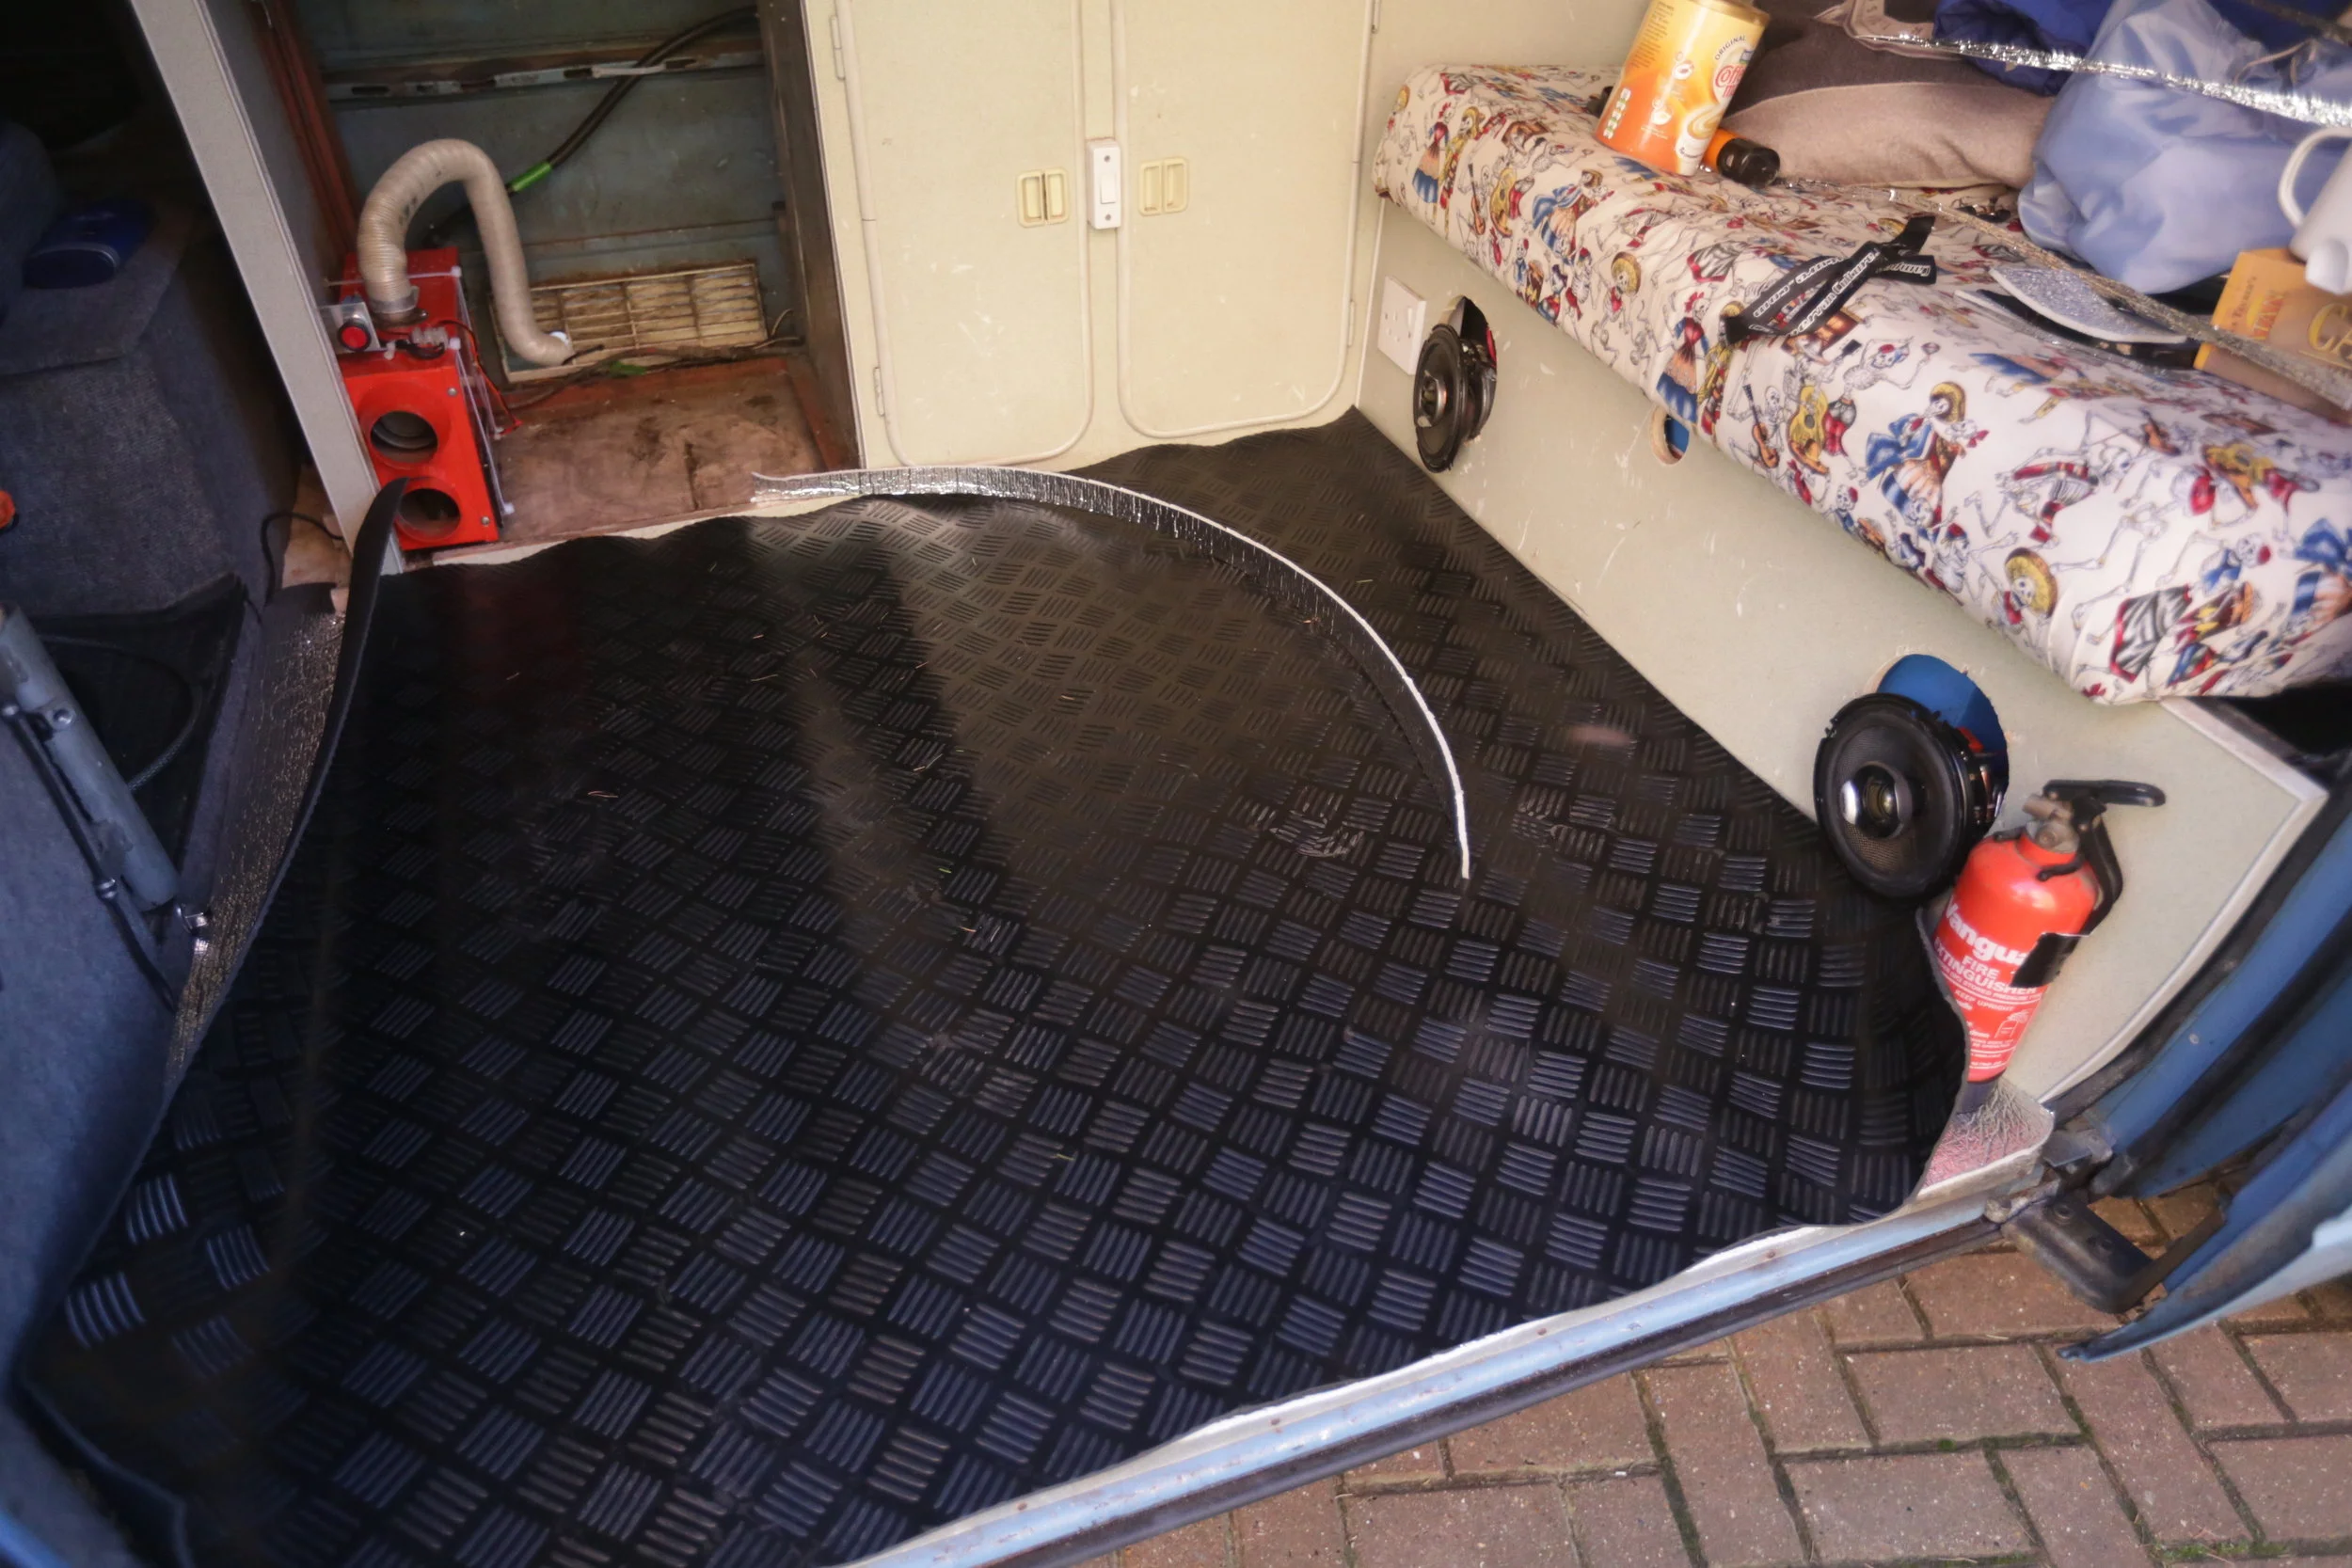
Stereo: I’m a music junkie so tunes on the road are essential. However, hundreds of hours of blasting rock/blues takes its toll and I had to replace my old head unit, front & rear speakers. I will get round to a full Bose conversion, but that’s for another day.
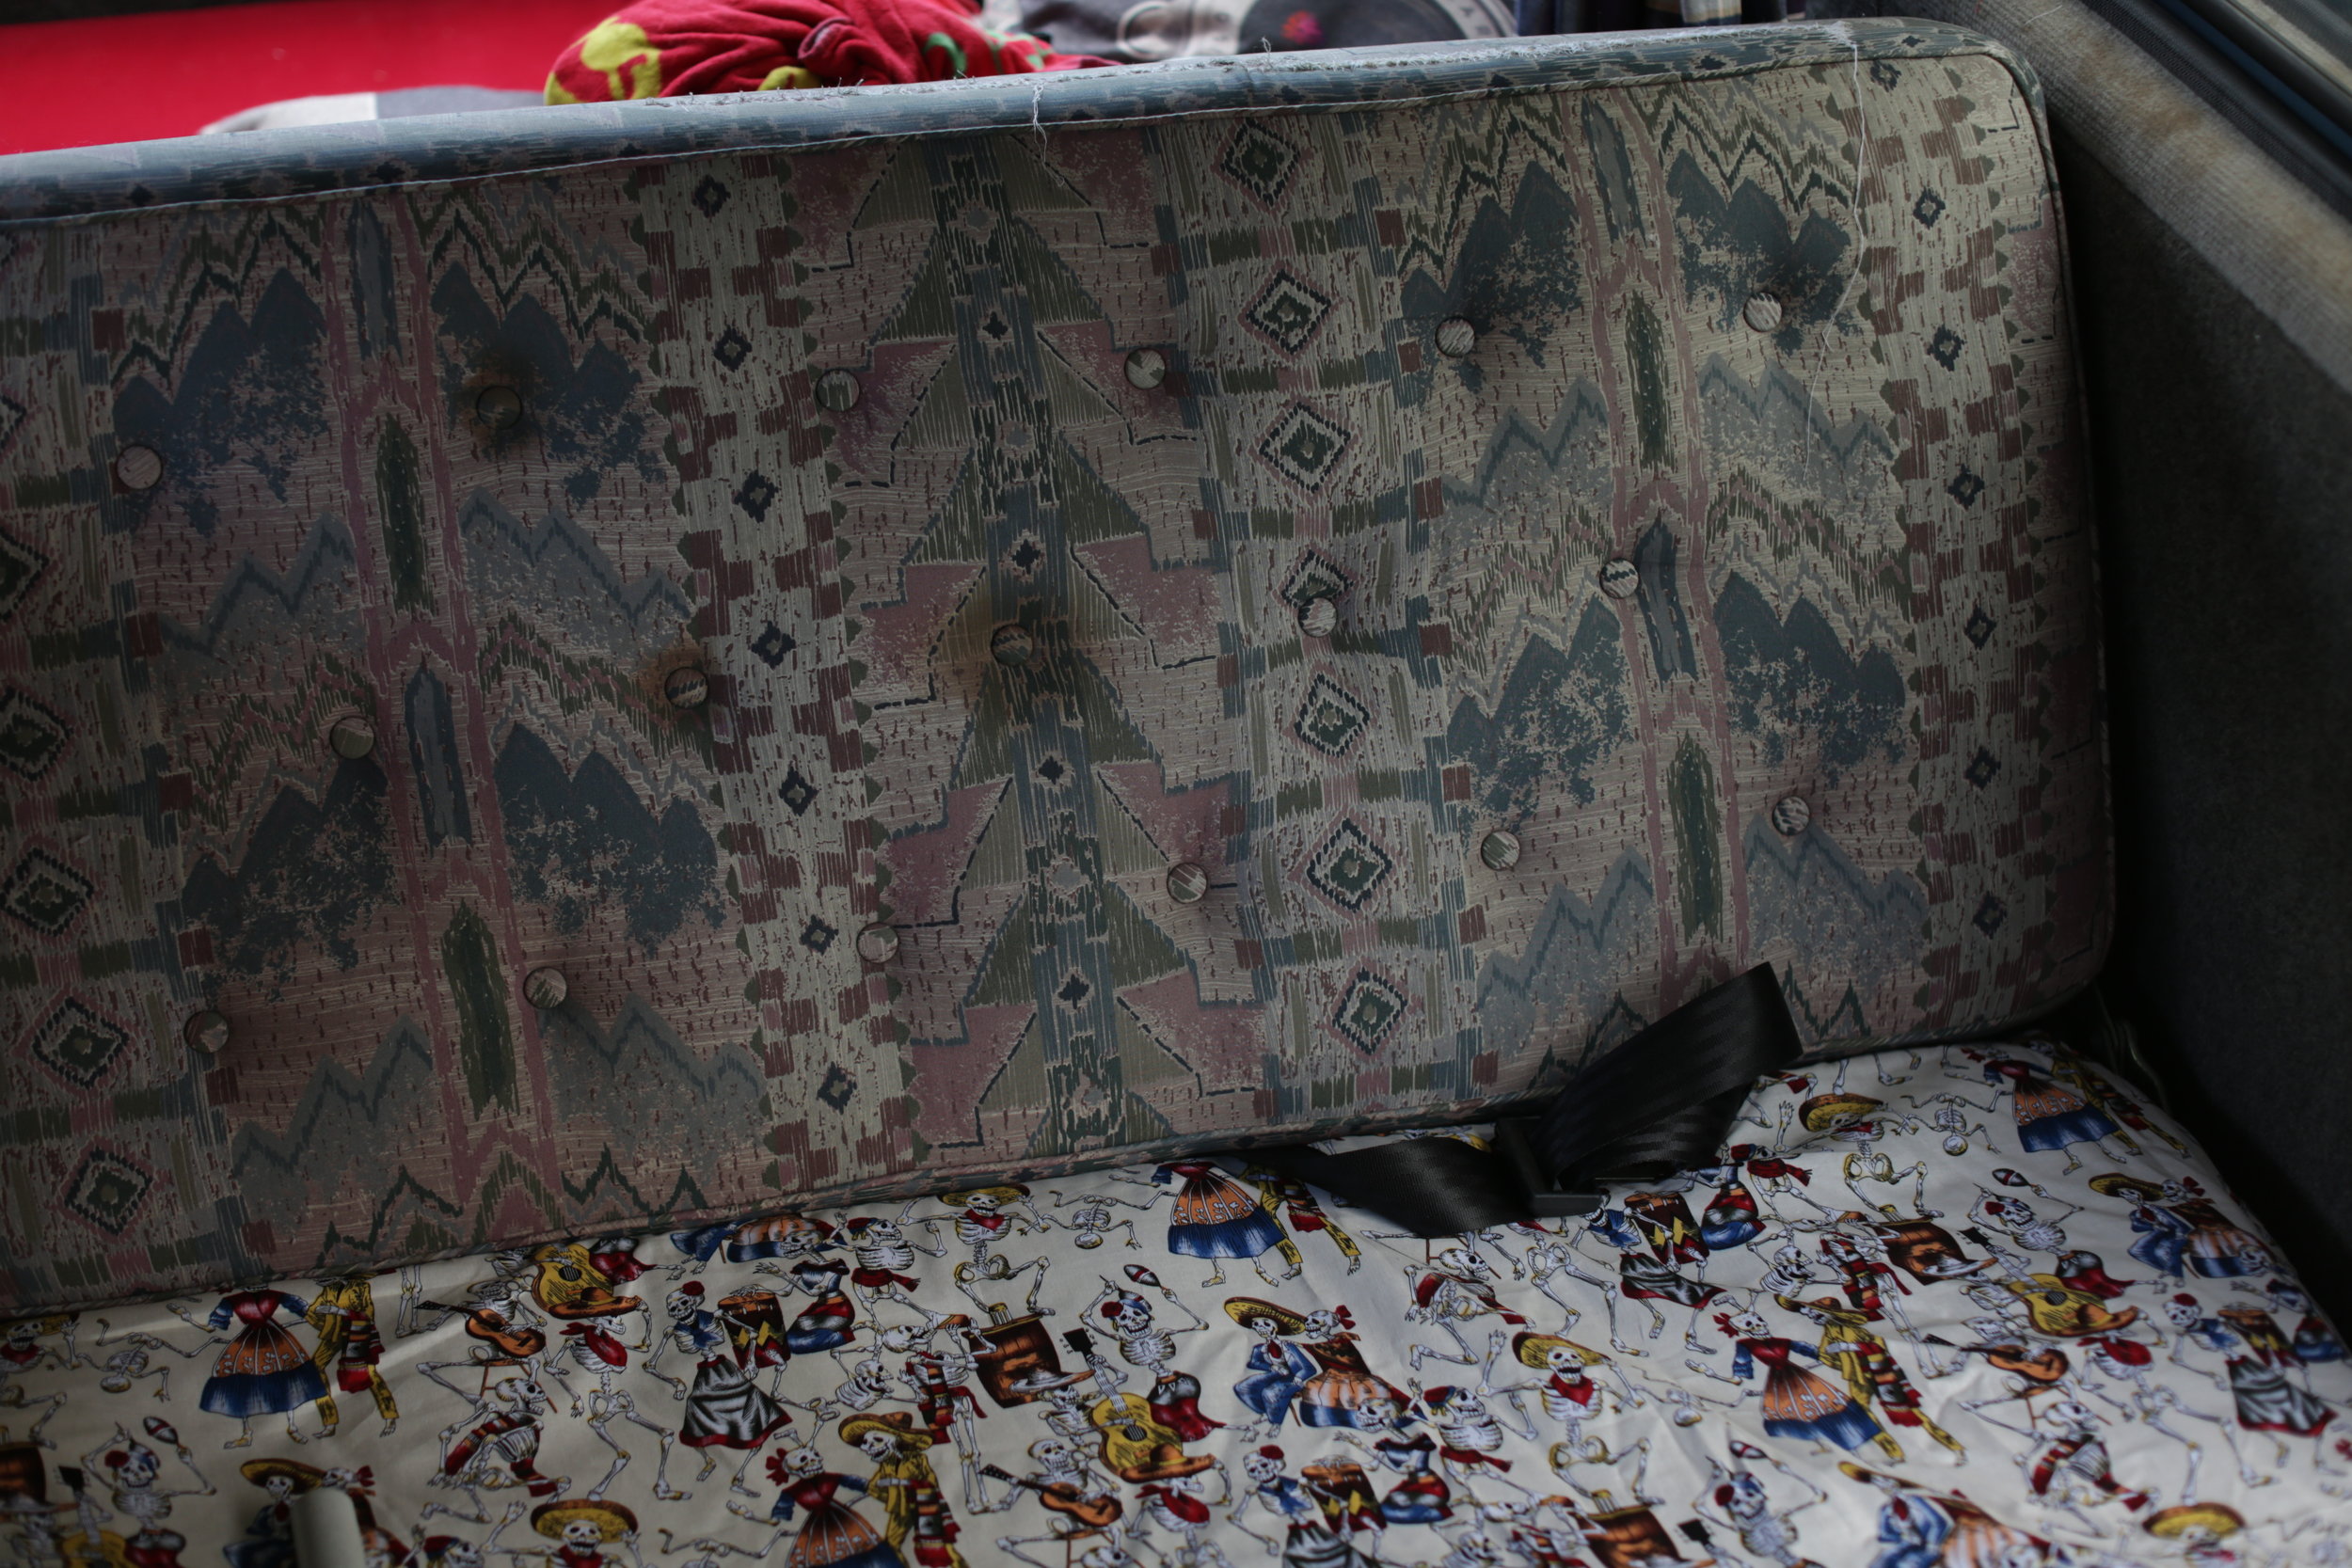
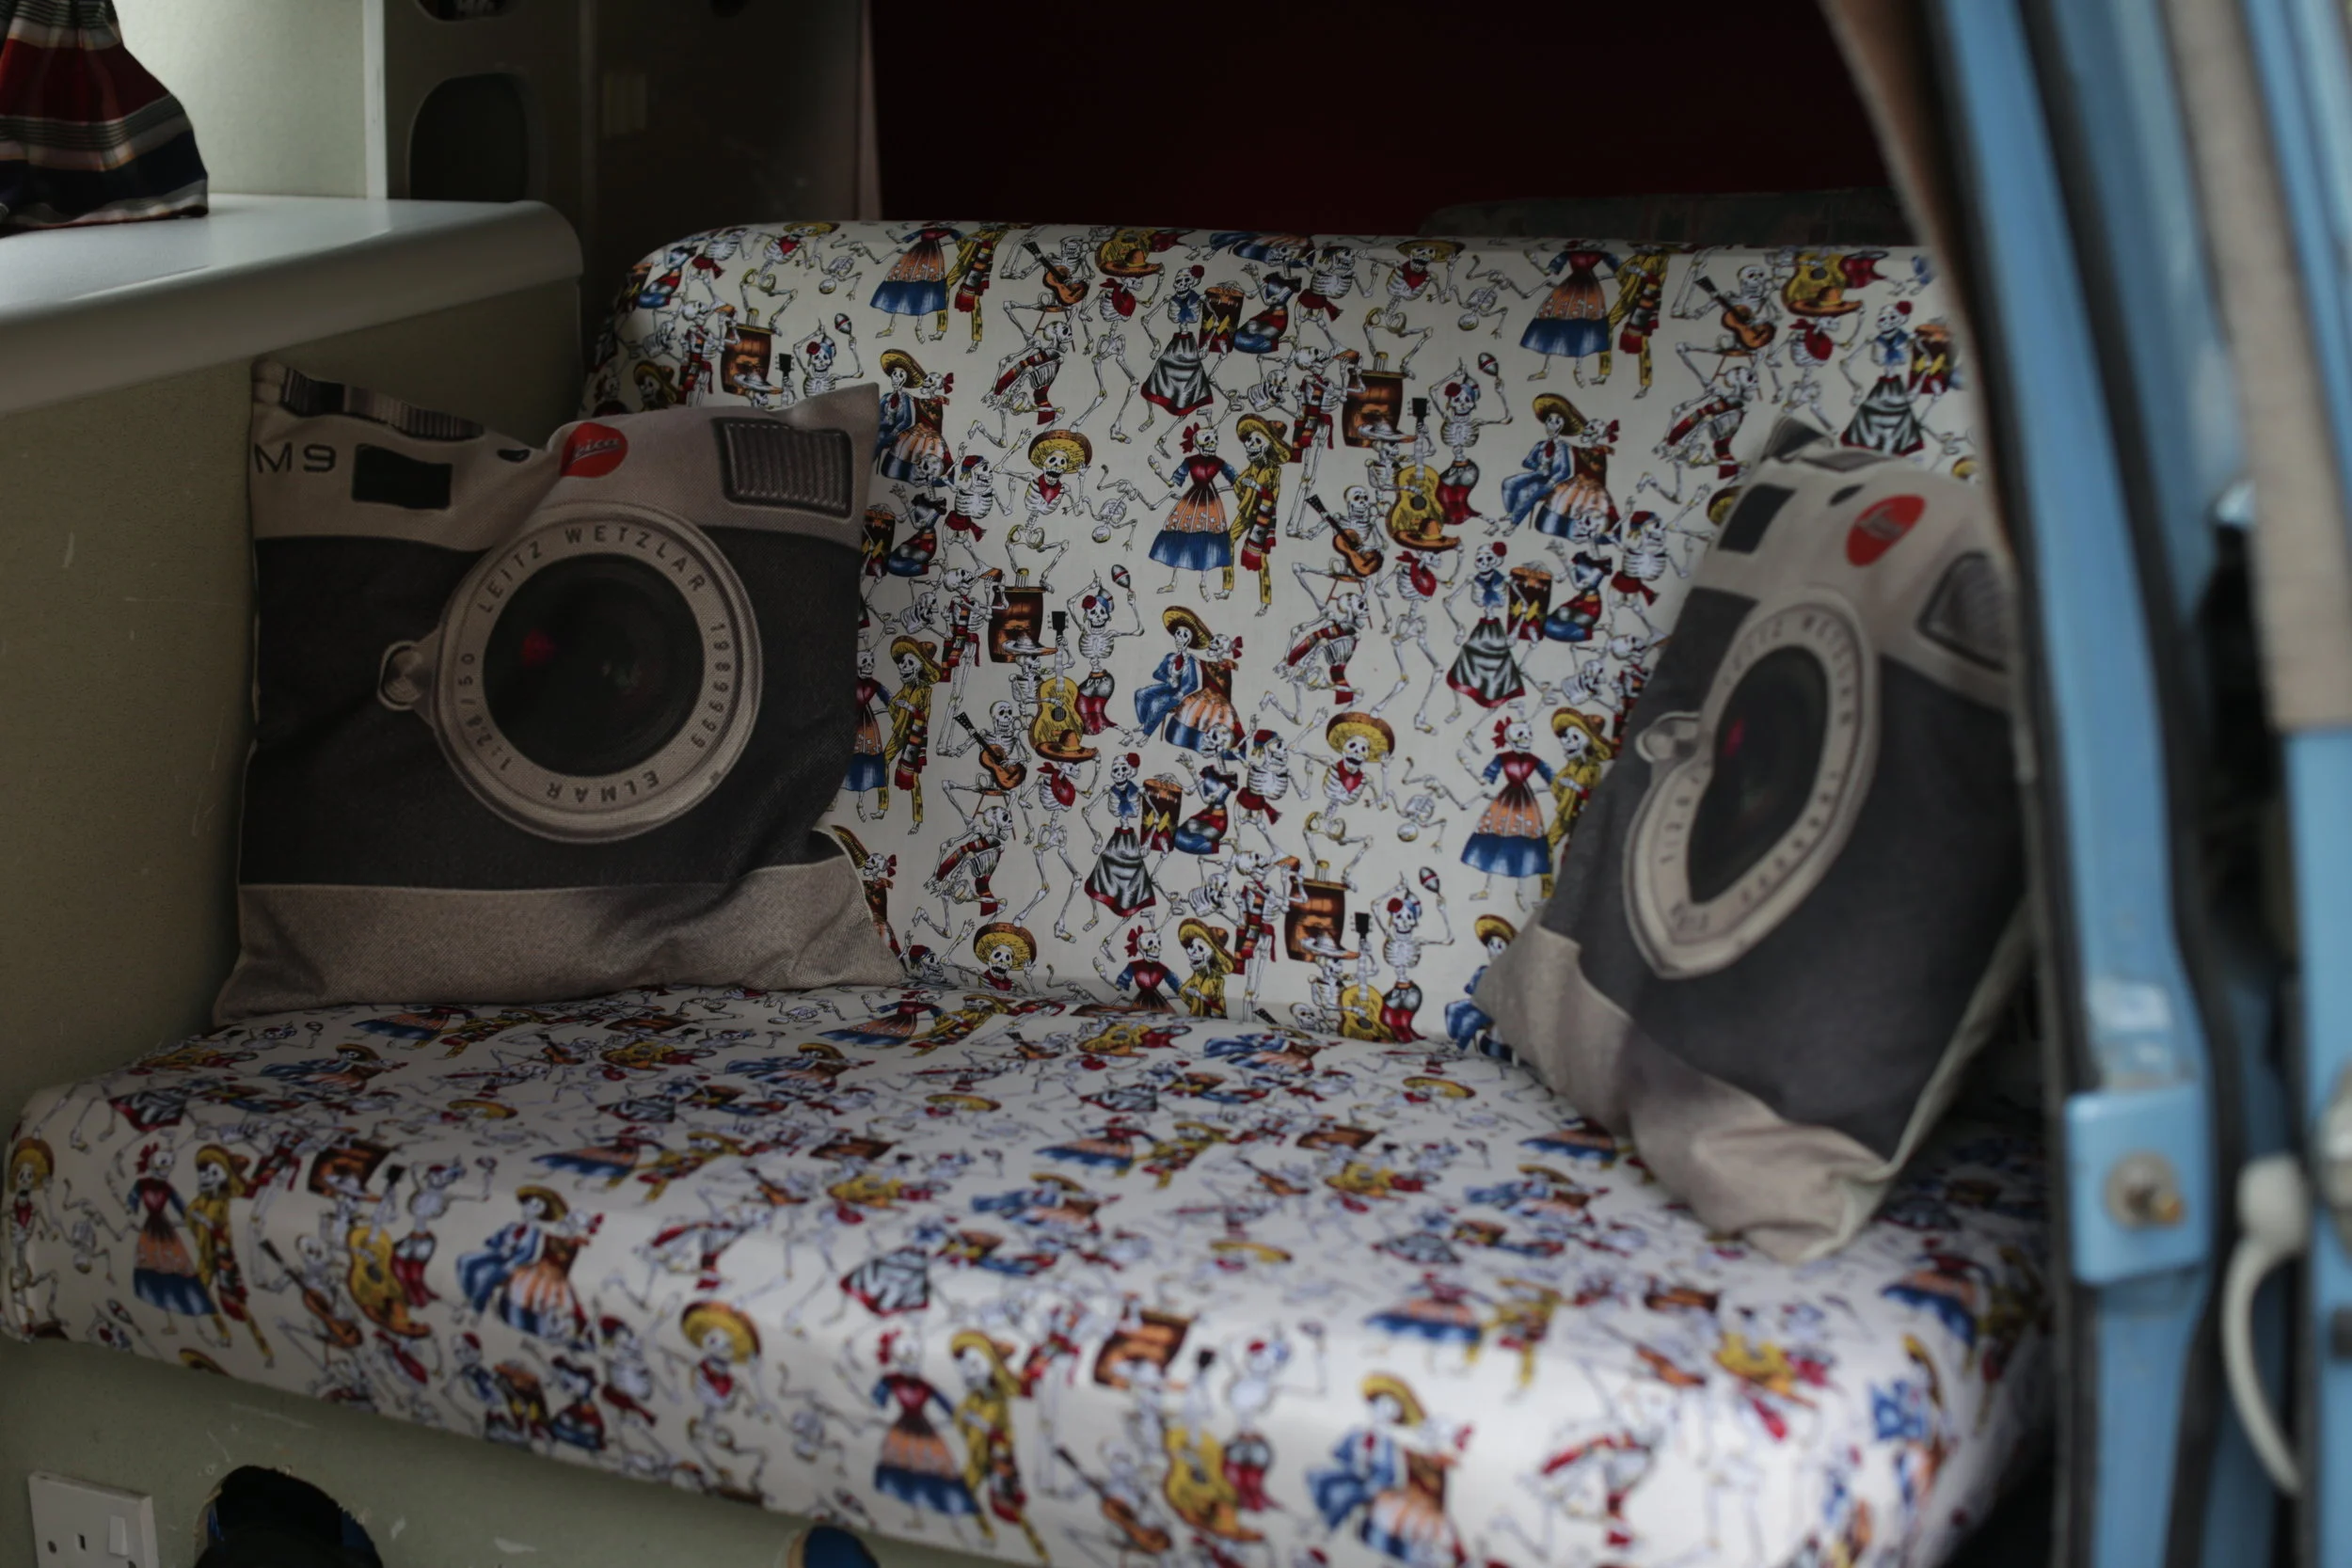
Seat Covers: The rear bench seat was literally falling to pieces so I needed a quick fix to prevent further disintegration. Consequently I sowed all the rips and reupholstered the cushioning with ‘ day of the dead ‘ material. It’s not the fanciest job in the world, but a quick/effective fix for the time being.


Front Table: I’ve wanted a front table in the van since I bought it and finally got hold of a second hand Westfalia one last winter. I knew the table would be an improvement, but I had no idea the sheer extent it would improve my living space. If I swivel my passenger side captain chair the table sits directly above my lap providing a perfect sized laptop desk. Moreover, if moved to the opposite side it offers an extra kitchen worktop for preparing food. This upgrade has been an absolute game changer and allows me to comfortably work on my laptop all day without imposing on the living space.
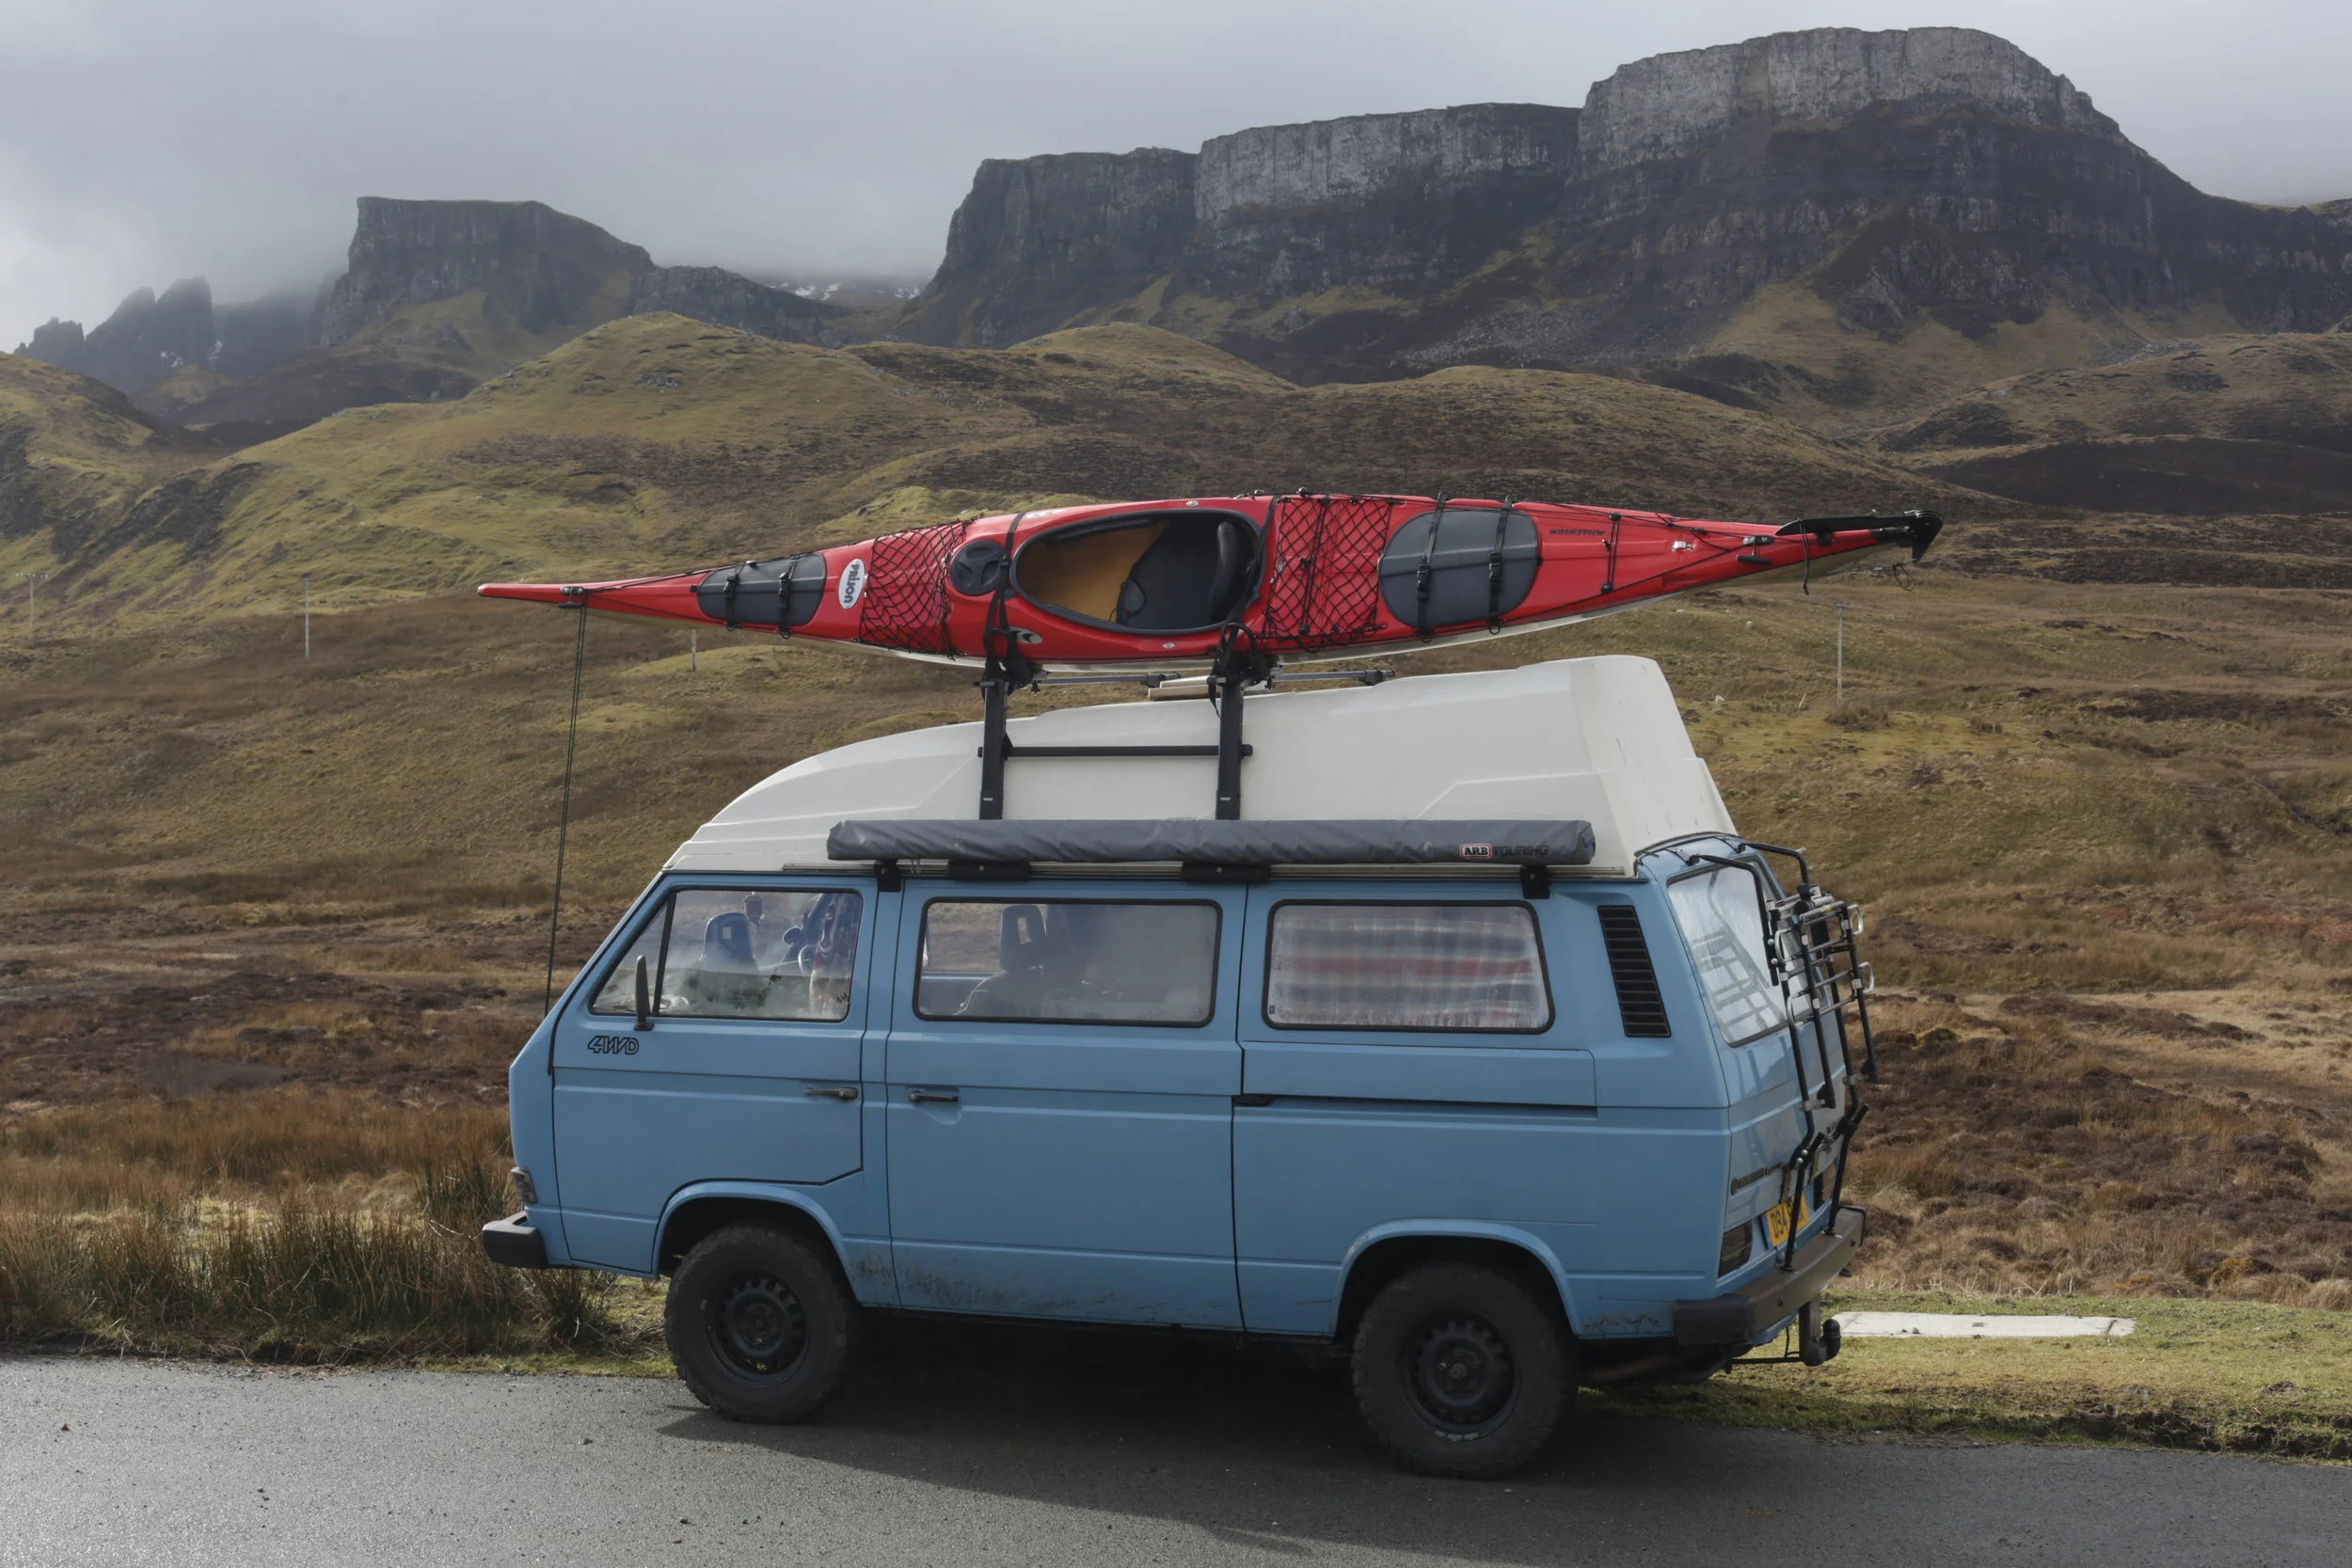
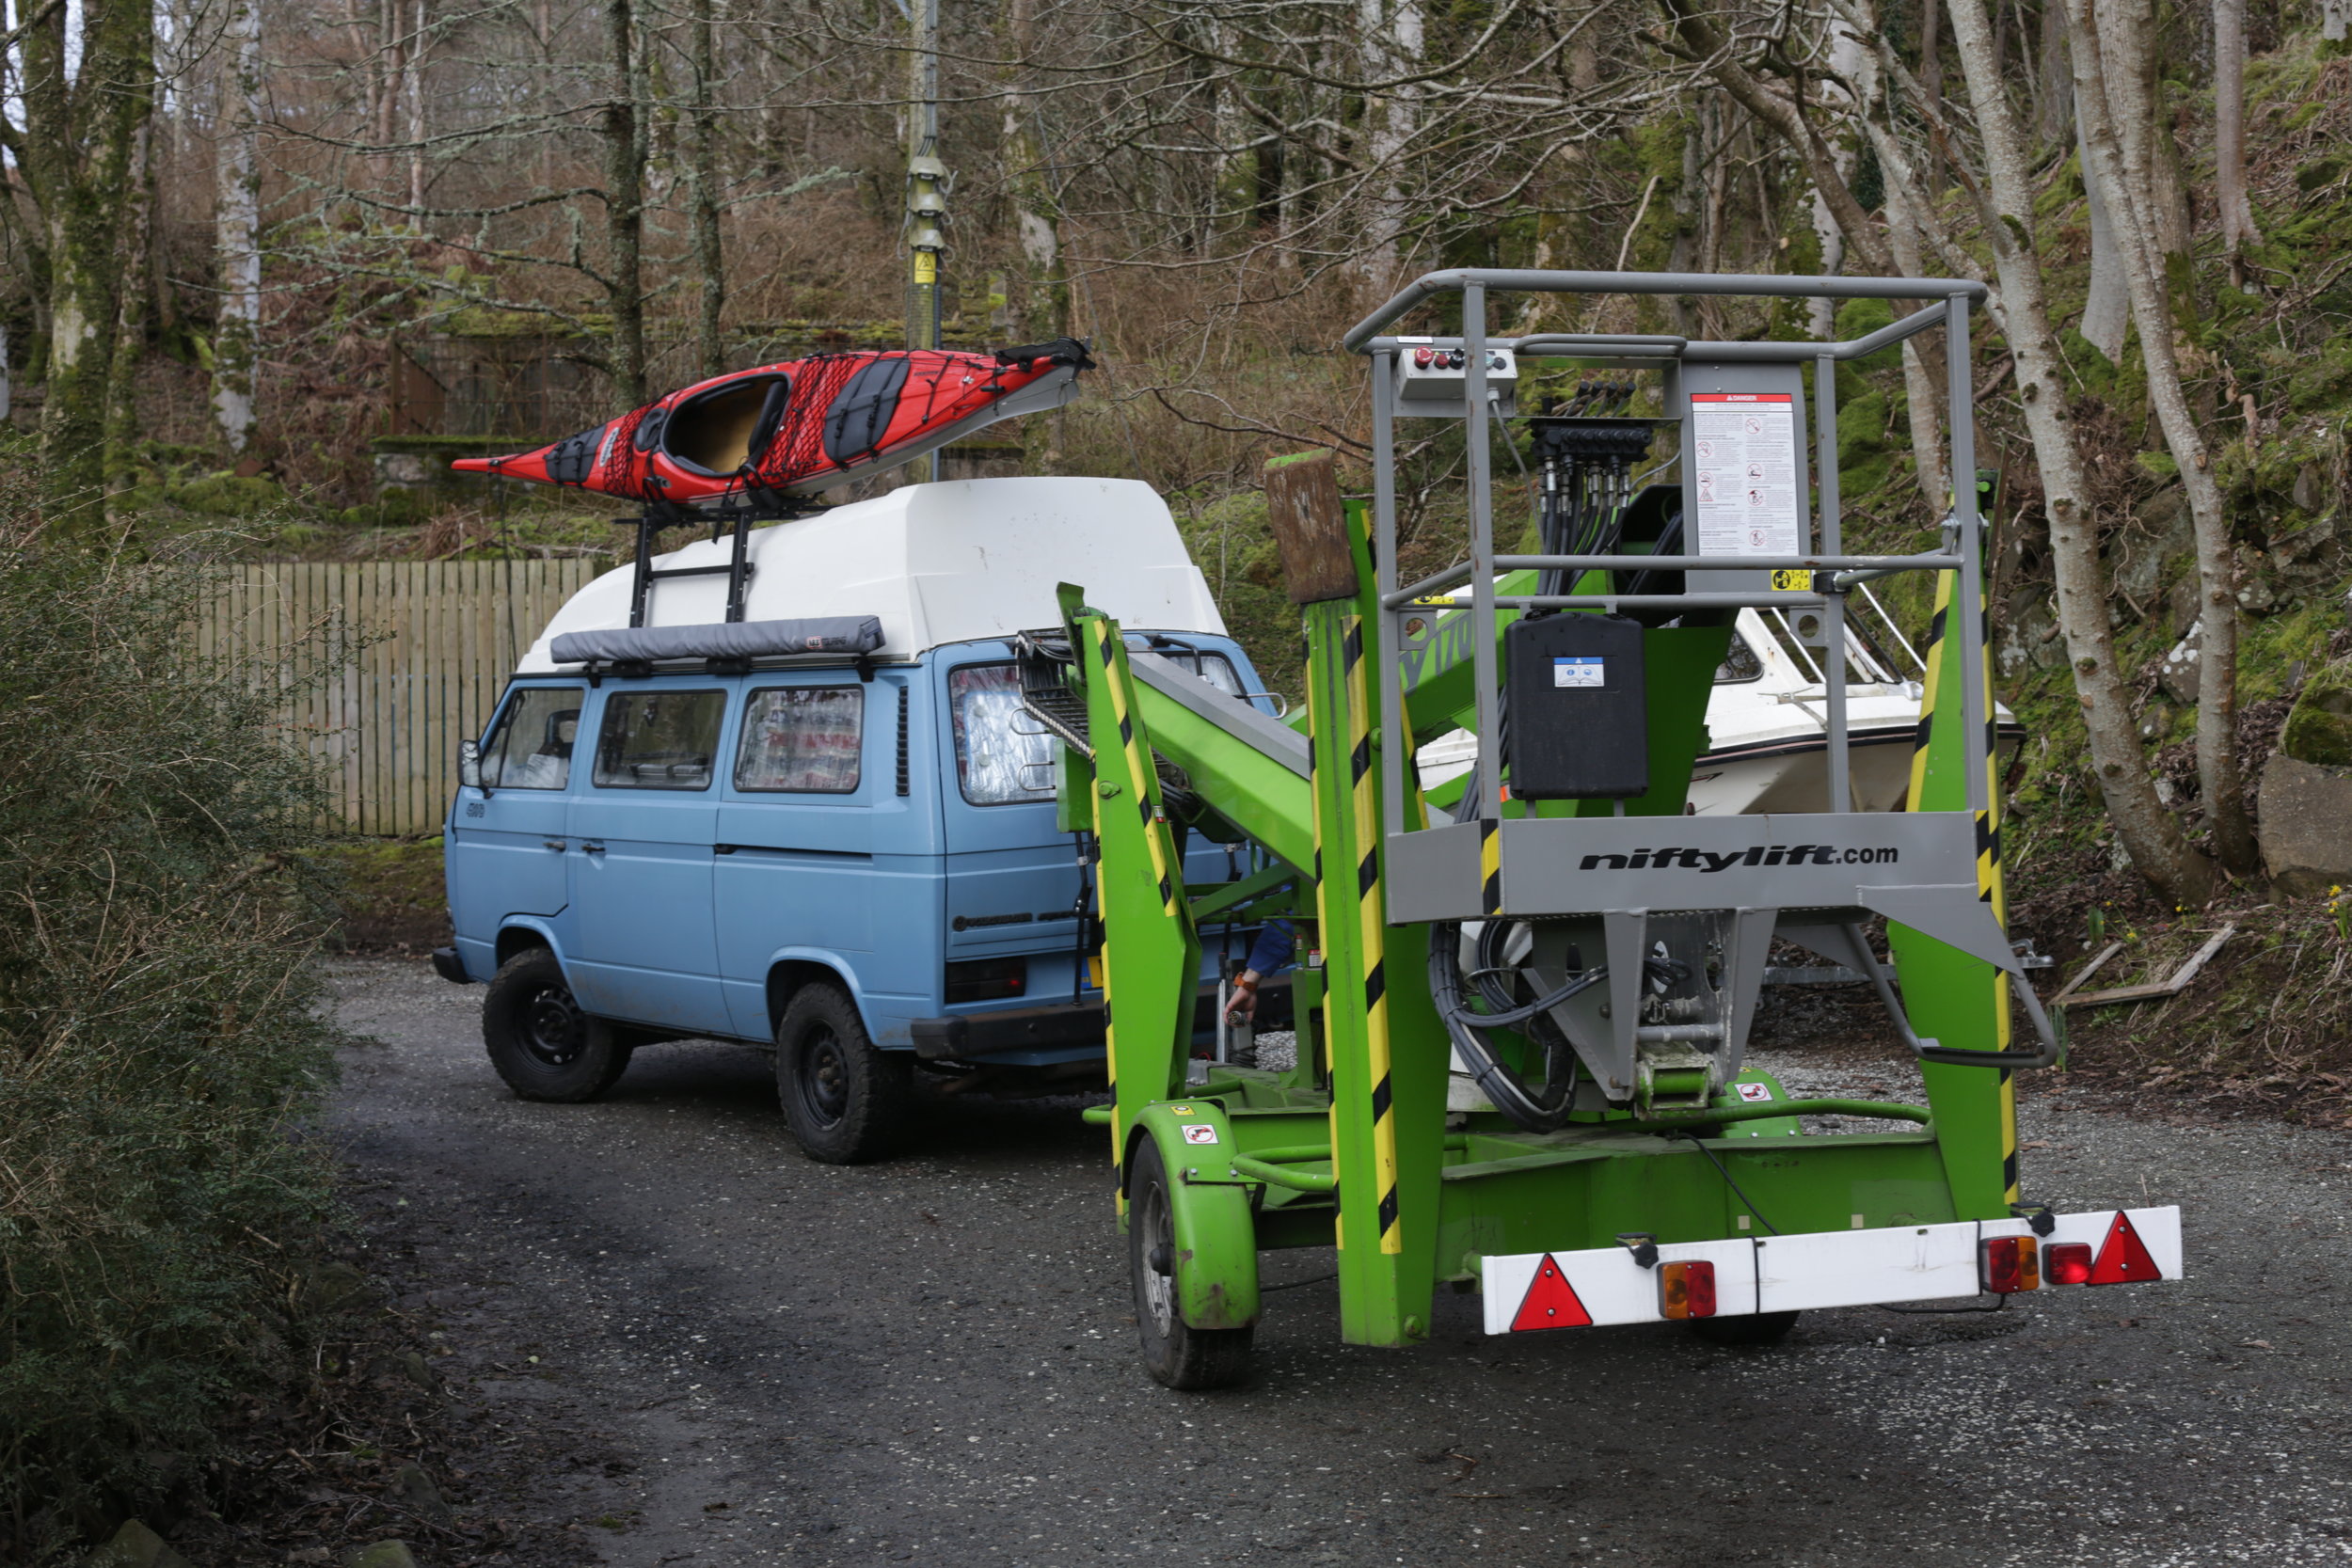
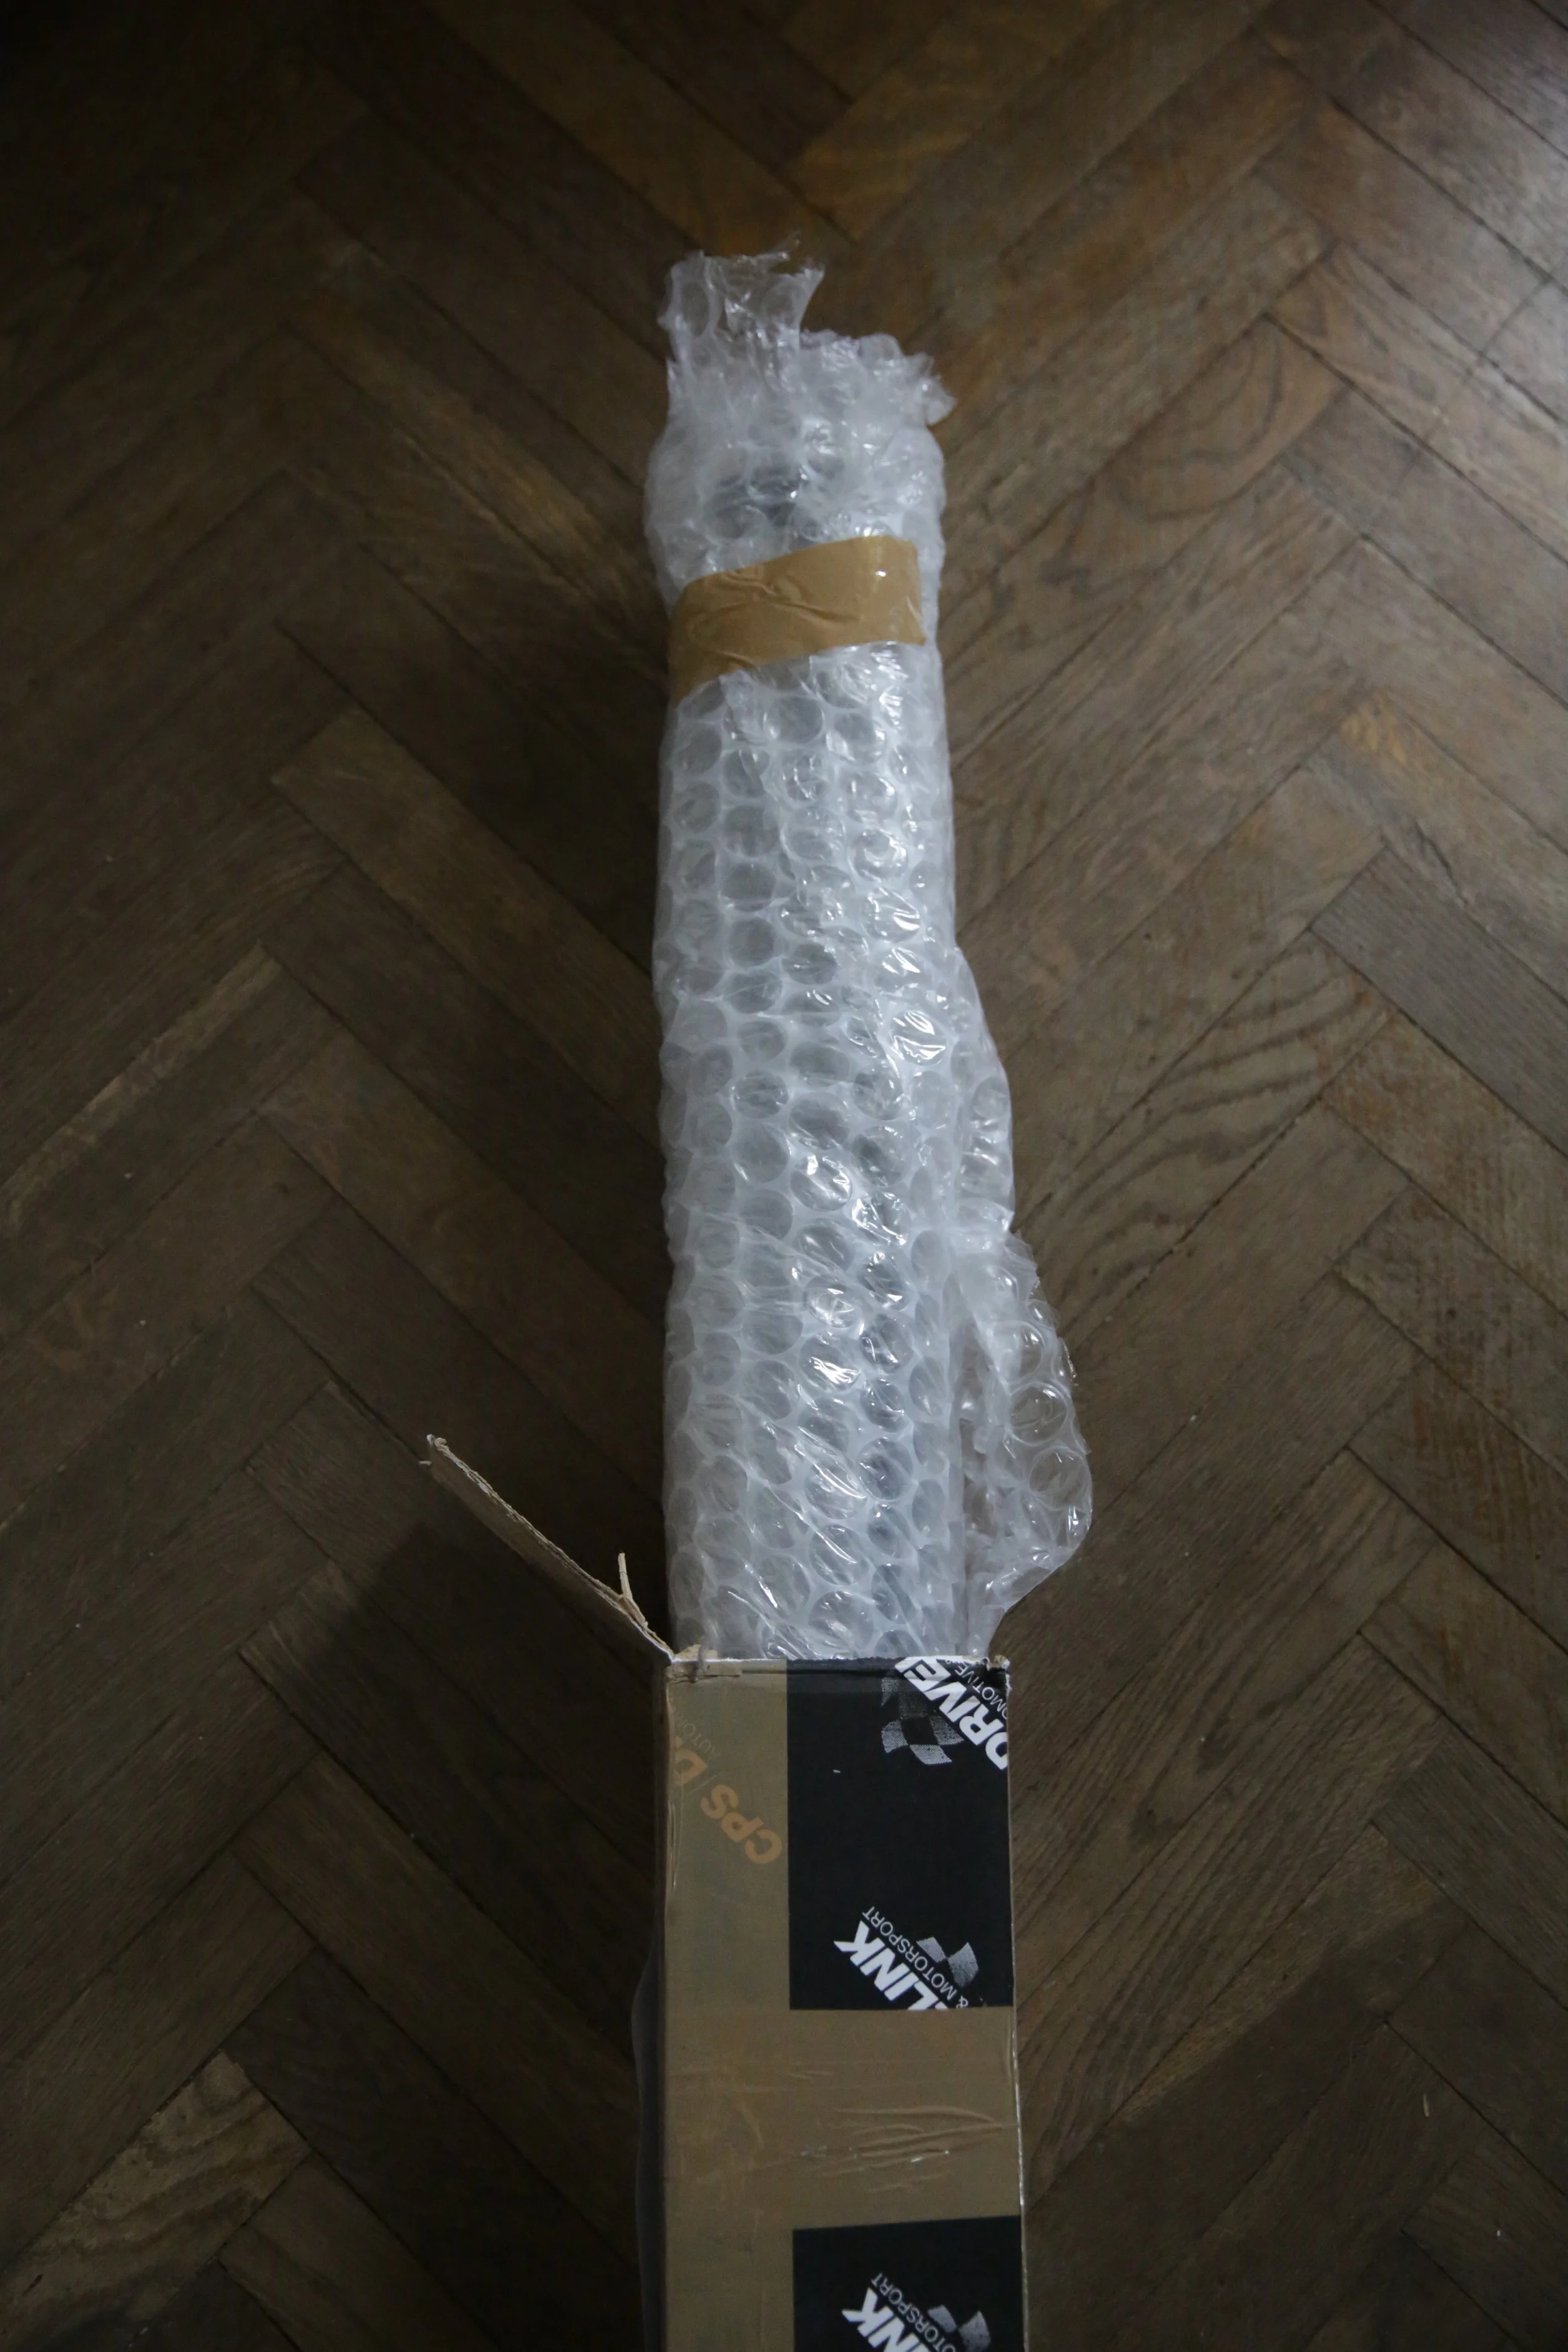
Kayak Rack: Those of you who follow my adventures will know that I’m a passionate kayaker and often need to transport my 5m sea kayak. Consequently, a kayak rack is essential and for the last couple of years I’ve made do with a dirt cheap one off of Ebay. However, over Christmas 2017 I upgraded to a carbon Prijon kayak and decided it was time to invest in a better rack to ensure the support/safety of my new vessel. Thule products are generally superb quality so I picked up their rack second hand and I can’t believe how much better it is than my previous carrier. Furthermore, the rack mounts can be adjusted and collapsed all together, which has proved useful when getting into garages…totally hidden in this pic I’m afraid, but note my kayak now lays flat, not on its side….so much better in cross winds!
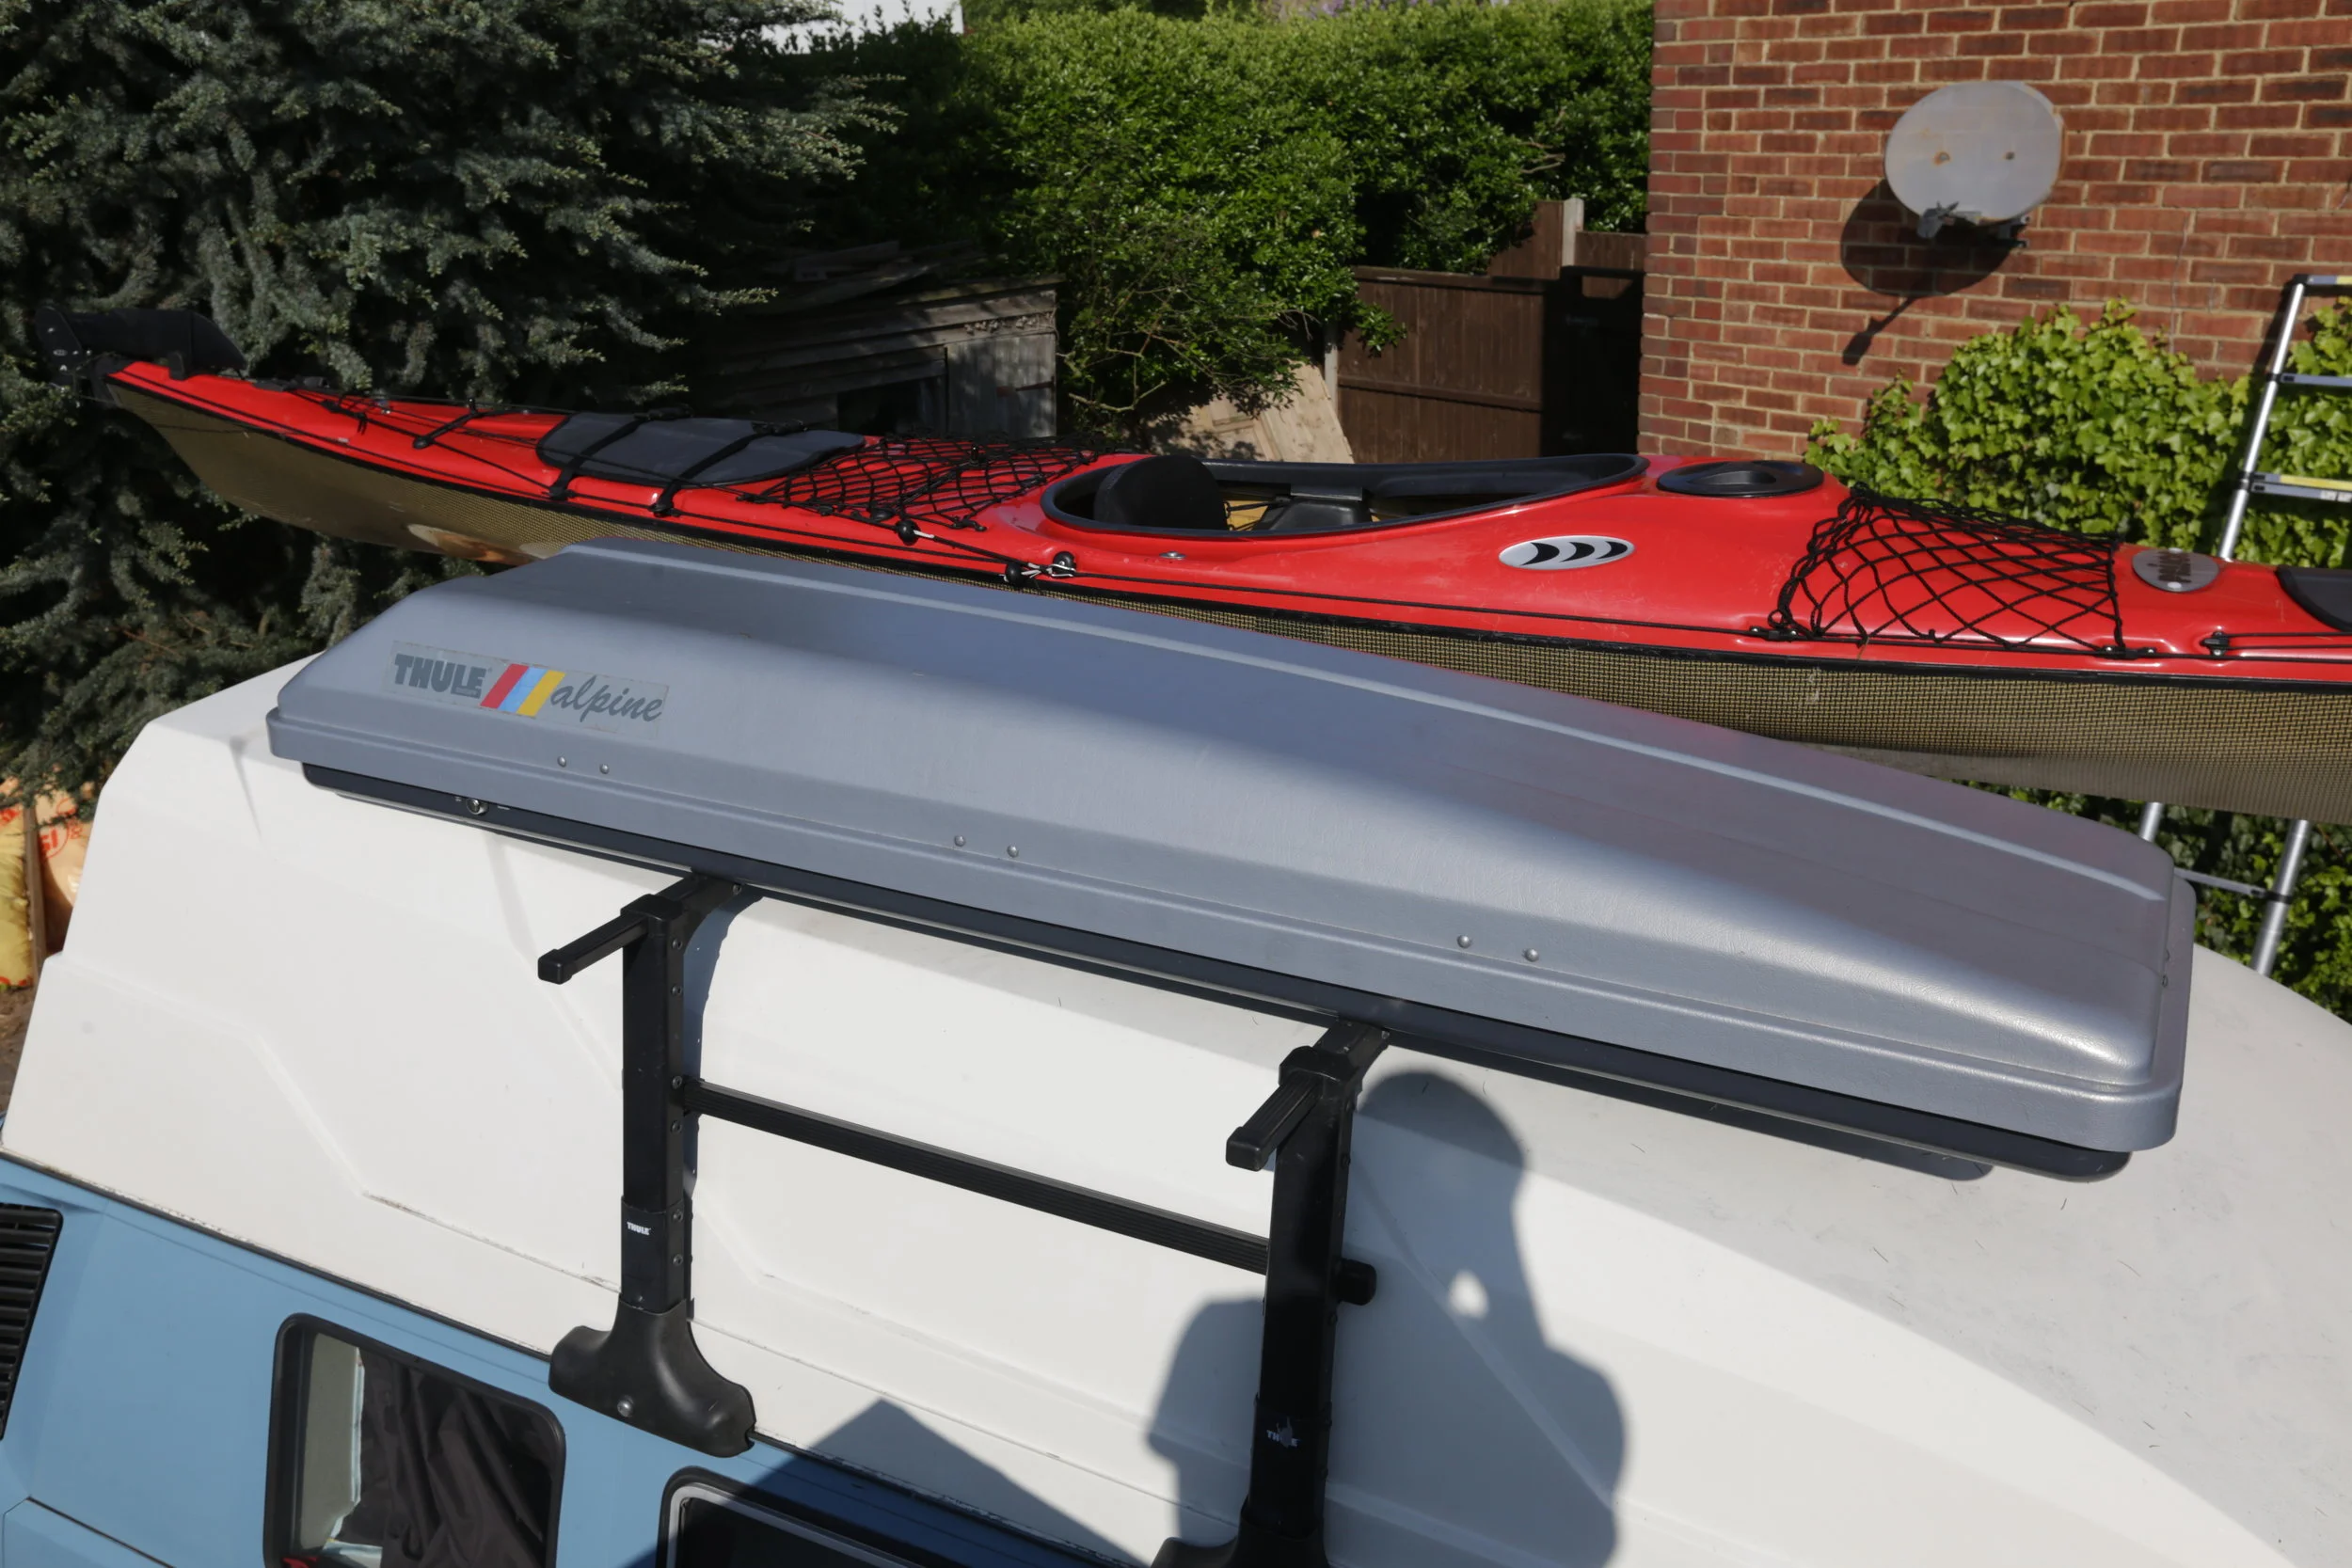
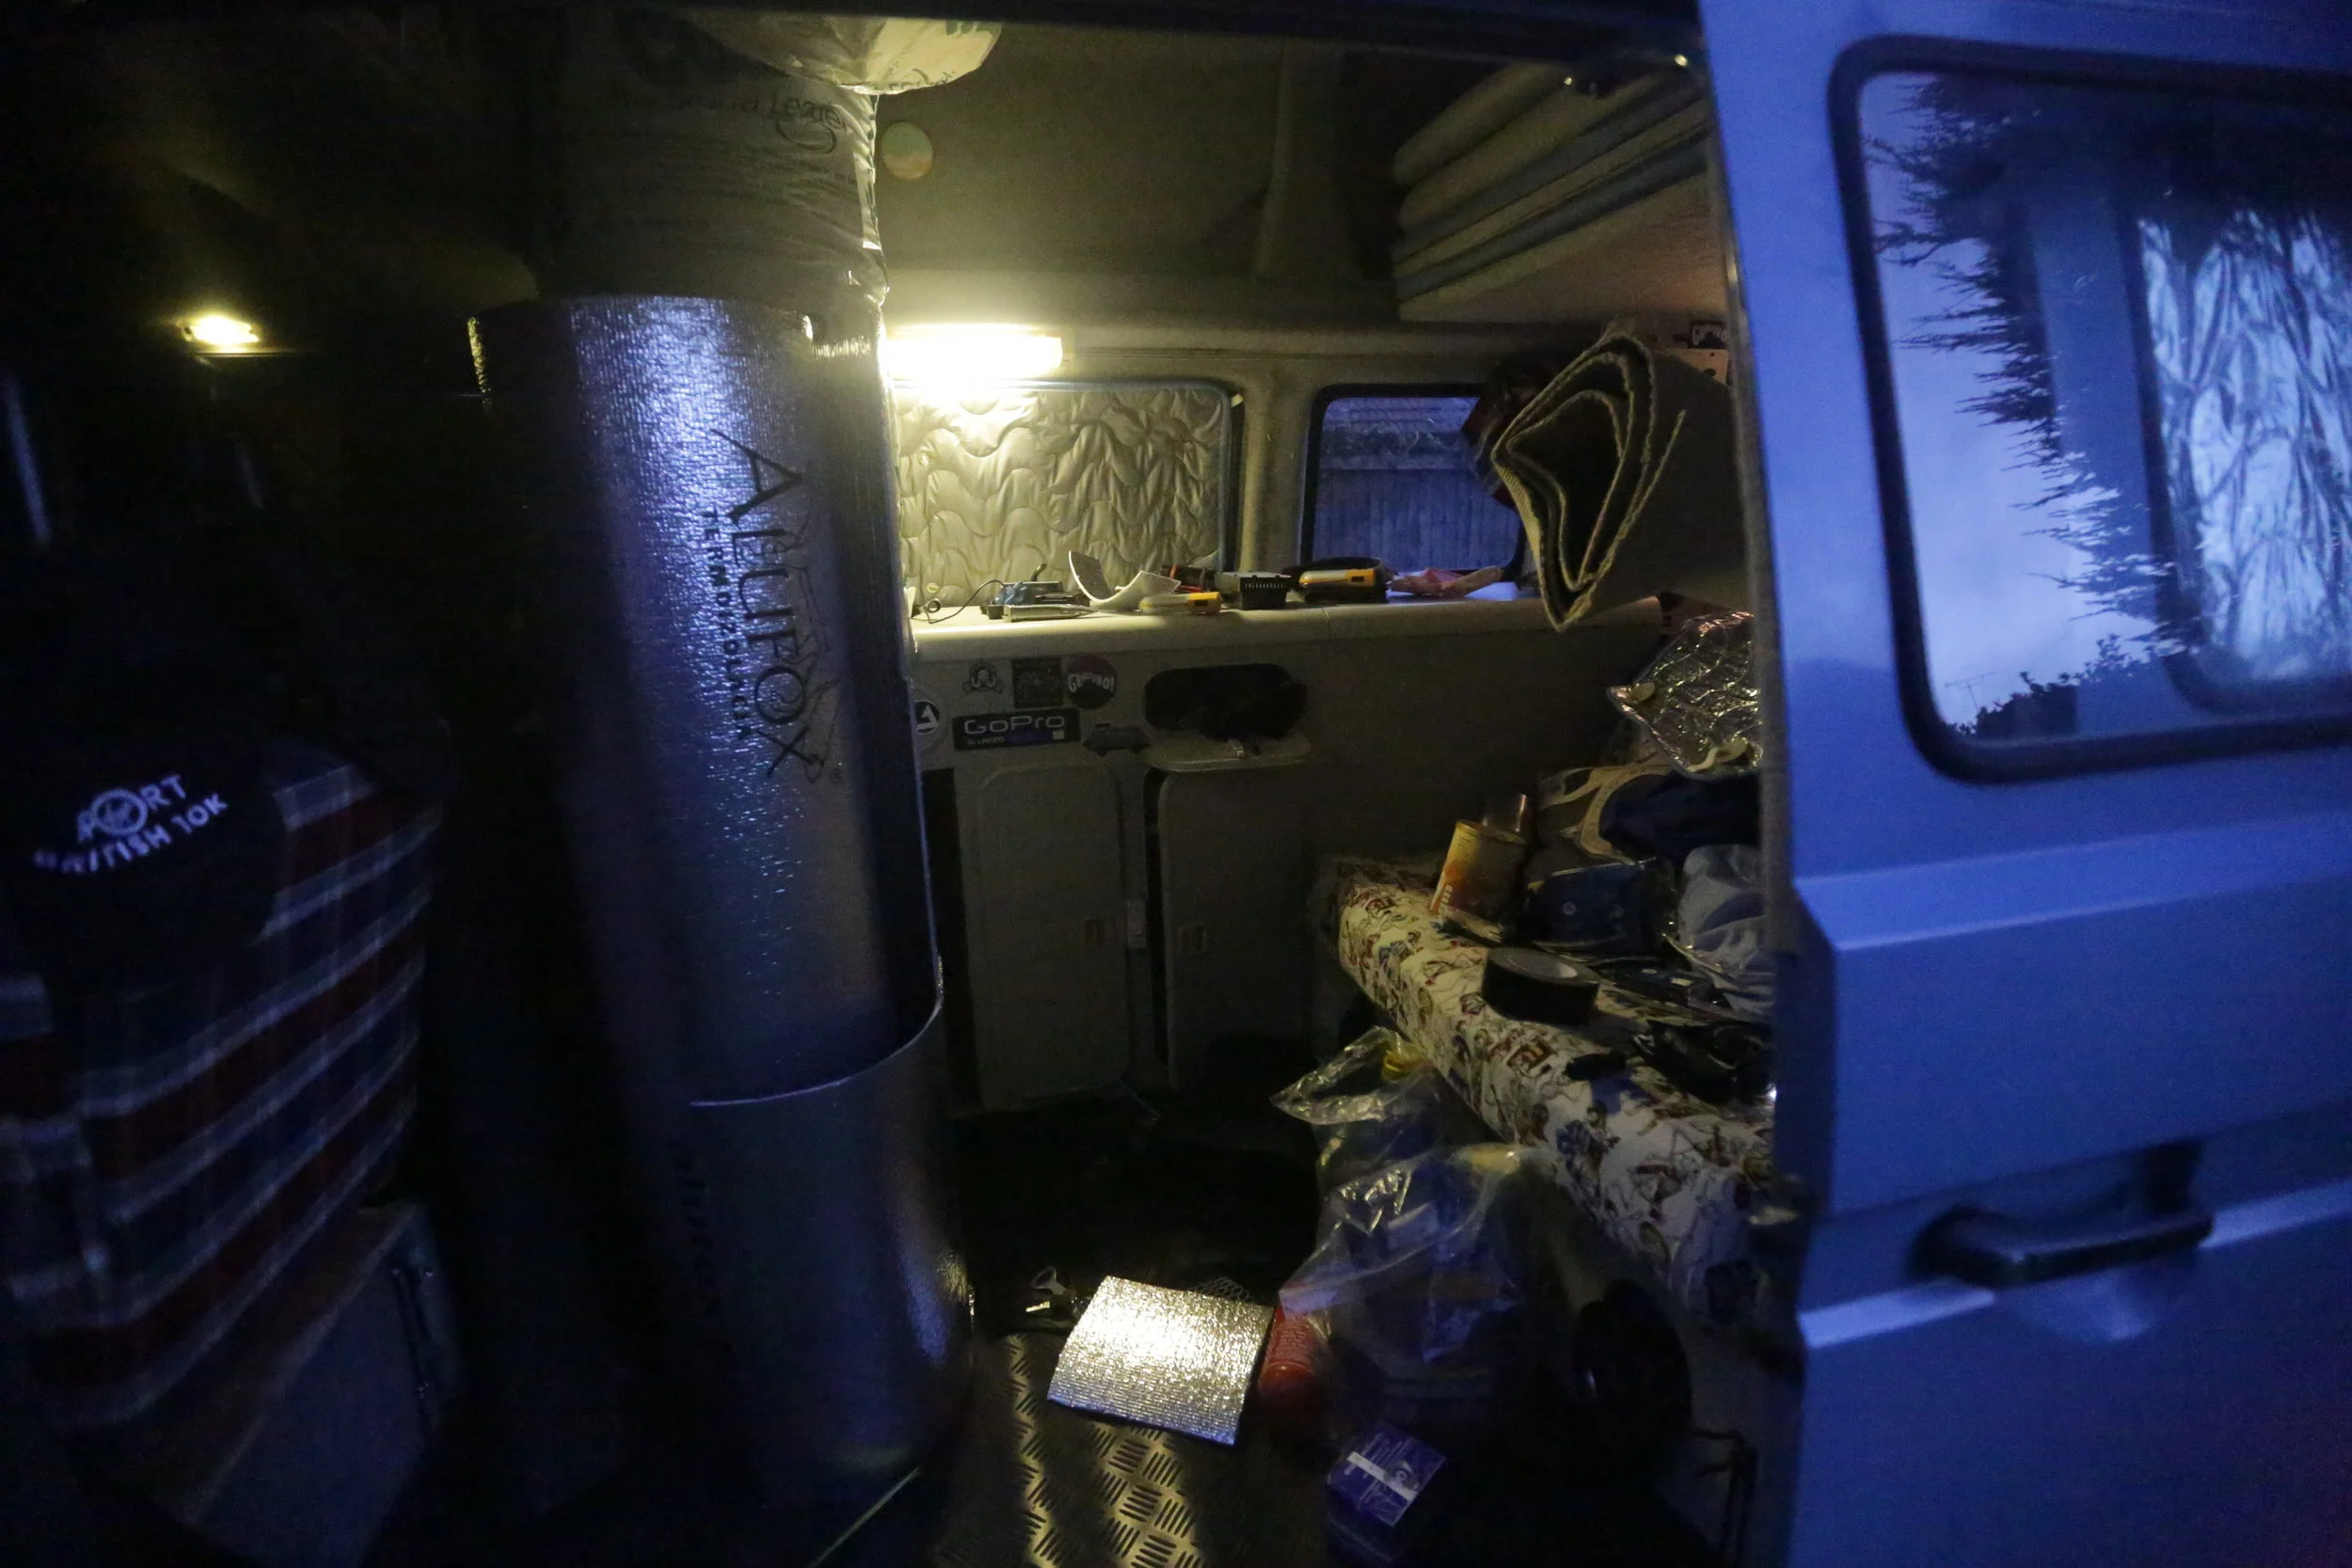
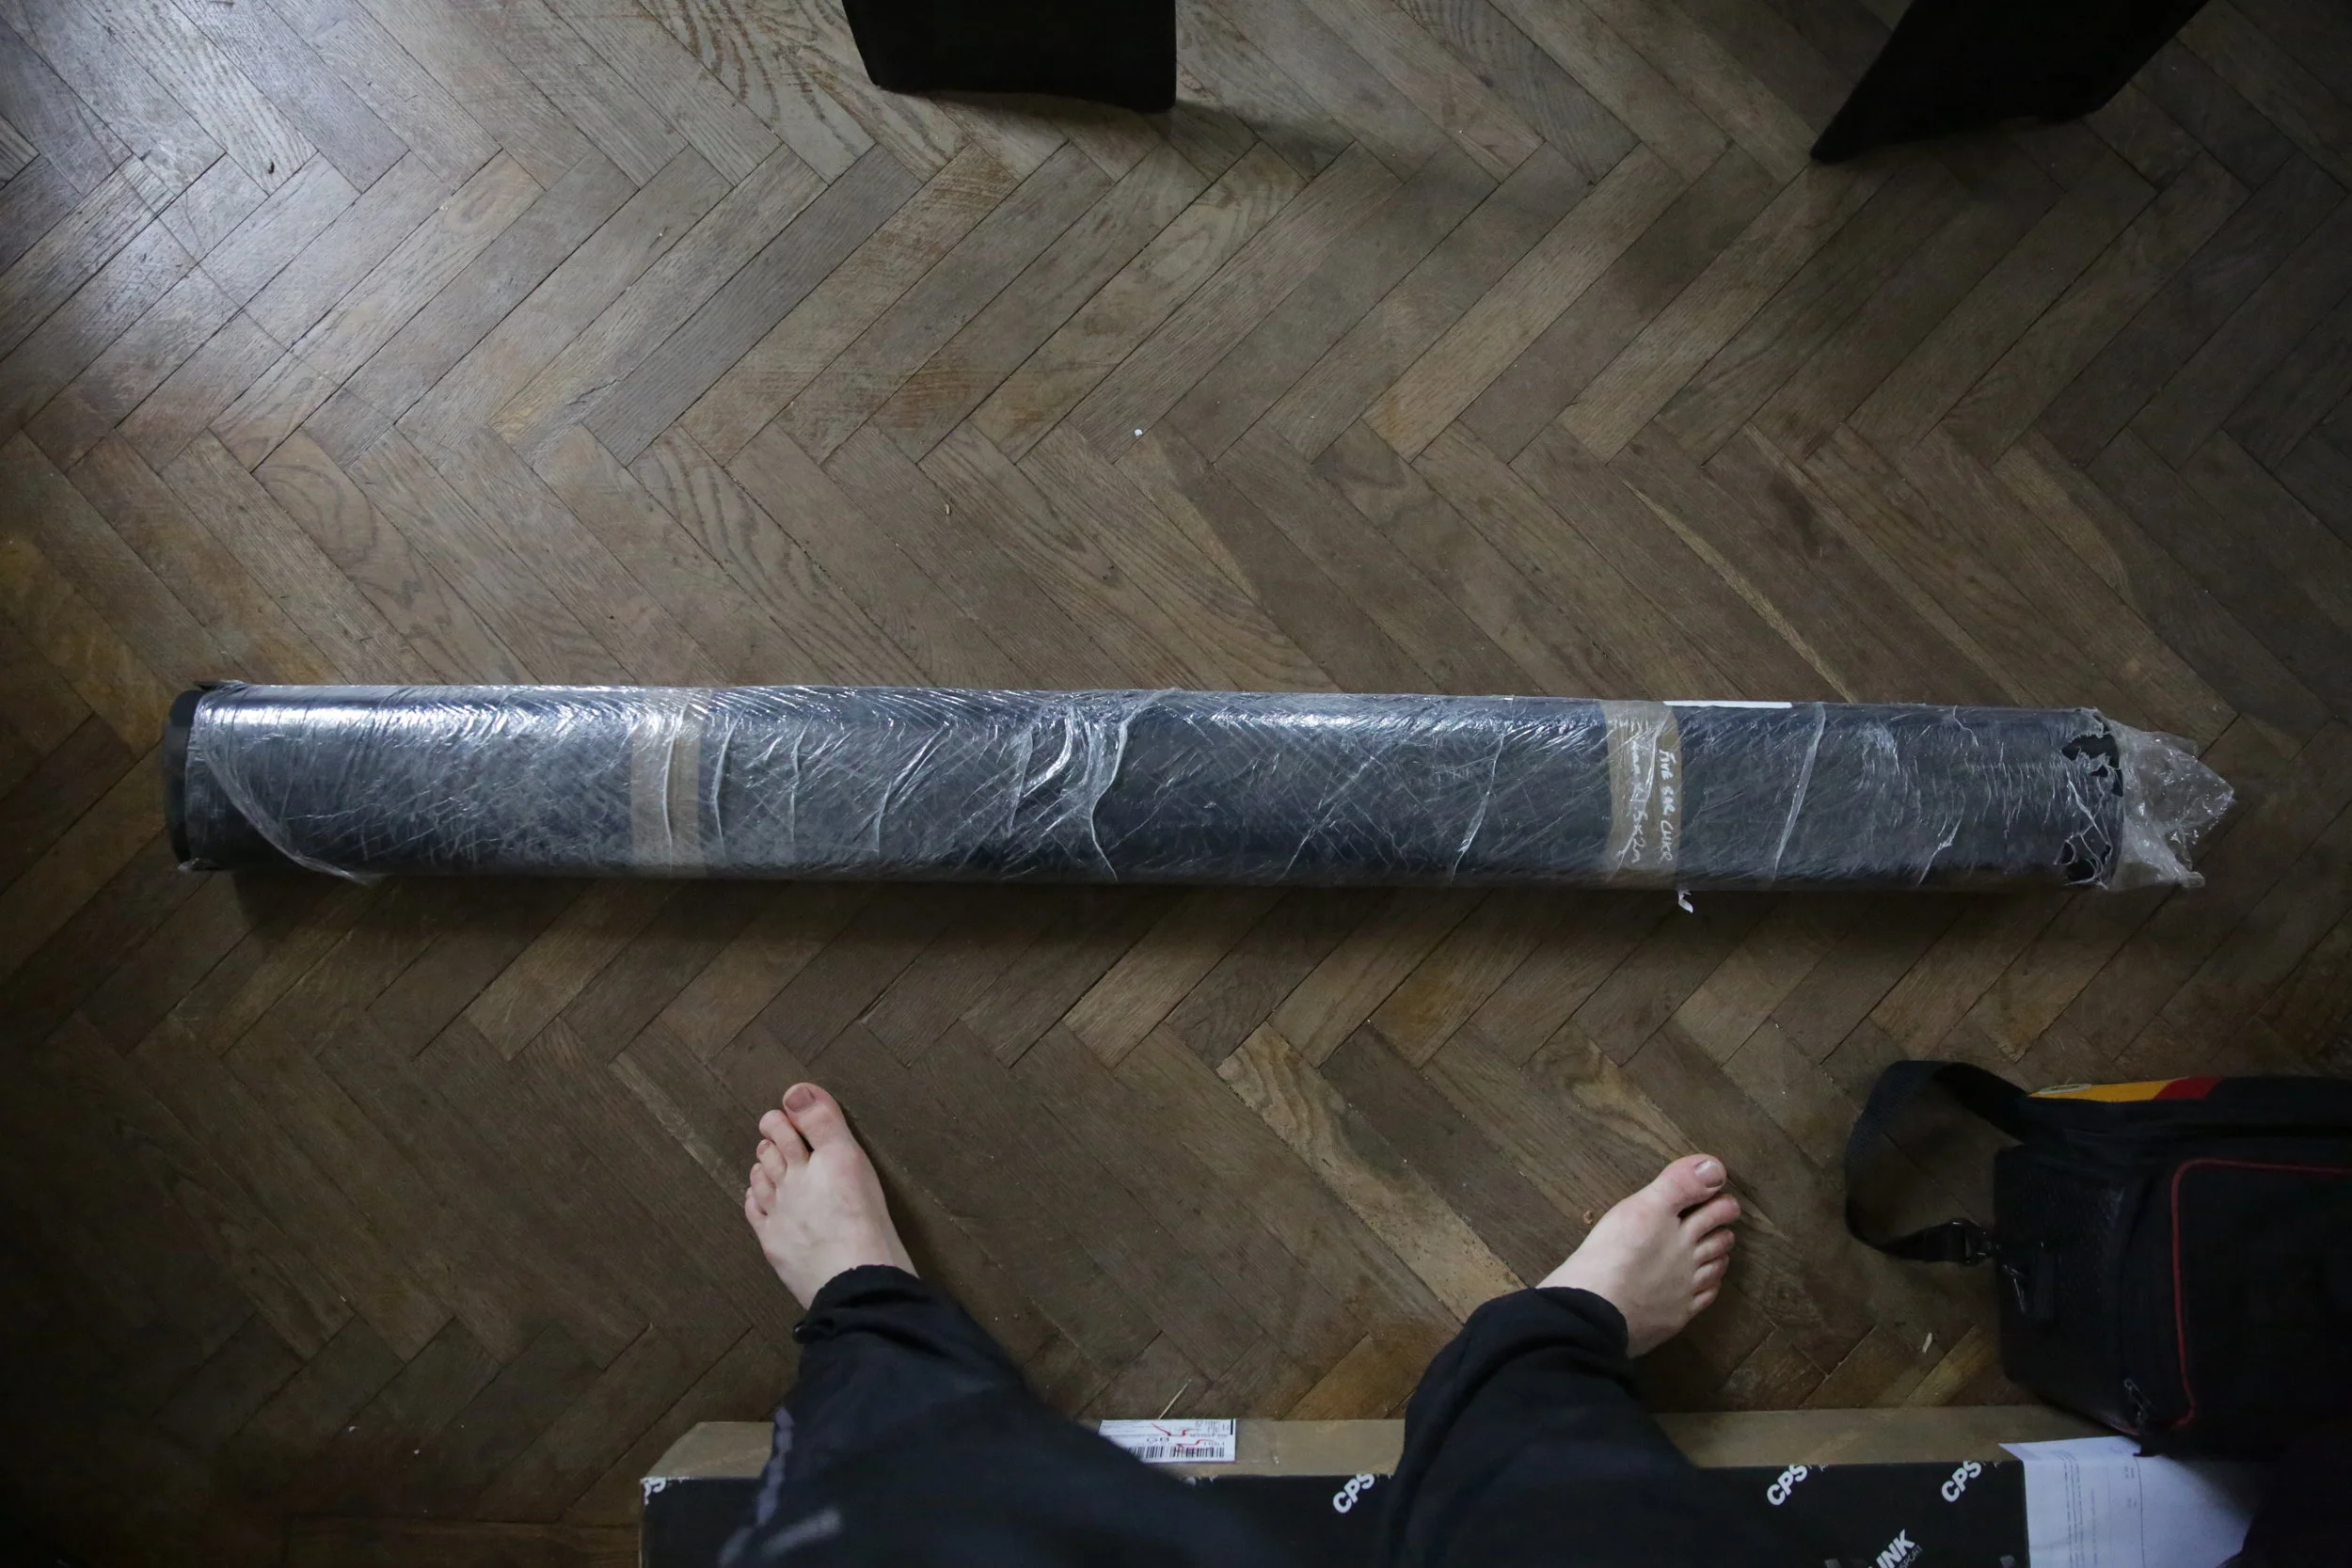
Roof Box: I do my best to be as minimal as possible on the road but that’s not always possible, especially when I offer an open door policy to friends/family. Subsequently, I tend to carry extra bedding, kitchenware, adventure equipment, recovery tools, etc. Thus, I’ve been after a roof box for a while to free up storage inside the van and finally got hold of a vintage Thule Alpine. It was important that the roof box was long and slim to minimise the effect of cross winds, especially considering I’m usually carrying a 5m sea kayak. The Thule Alpine is perfect and offers a decent amount of storage without breaking the bank ( I picked up mine for £55 on Ebay…see above ).
Curtains: I’ve focused all my time and energy over the past three years focusing on the van’s mechanics and consequently the interior has remained extremely basic. The curtains in the van are absolutely knackered and almost see through. Thus, when my nan casually said she’d be able to hand make a set of custom black out curtains…well…now I have her working round the clock. Jokes aside, the quality of the work is absolutely superb and transforms the inside of the van. The curtains are made from fabric I hand picked and backed with black out material. The plan is to mix up the fabrics and create a bright/childish interior in the evenings, whilst the black out fabric on the outside will prevent any light leak whilst stealth camping and similarly stop exterior light from flooding the van in the mornings…pictures to come!
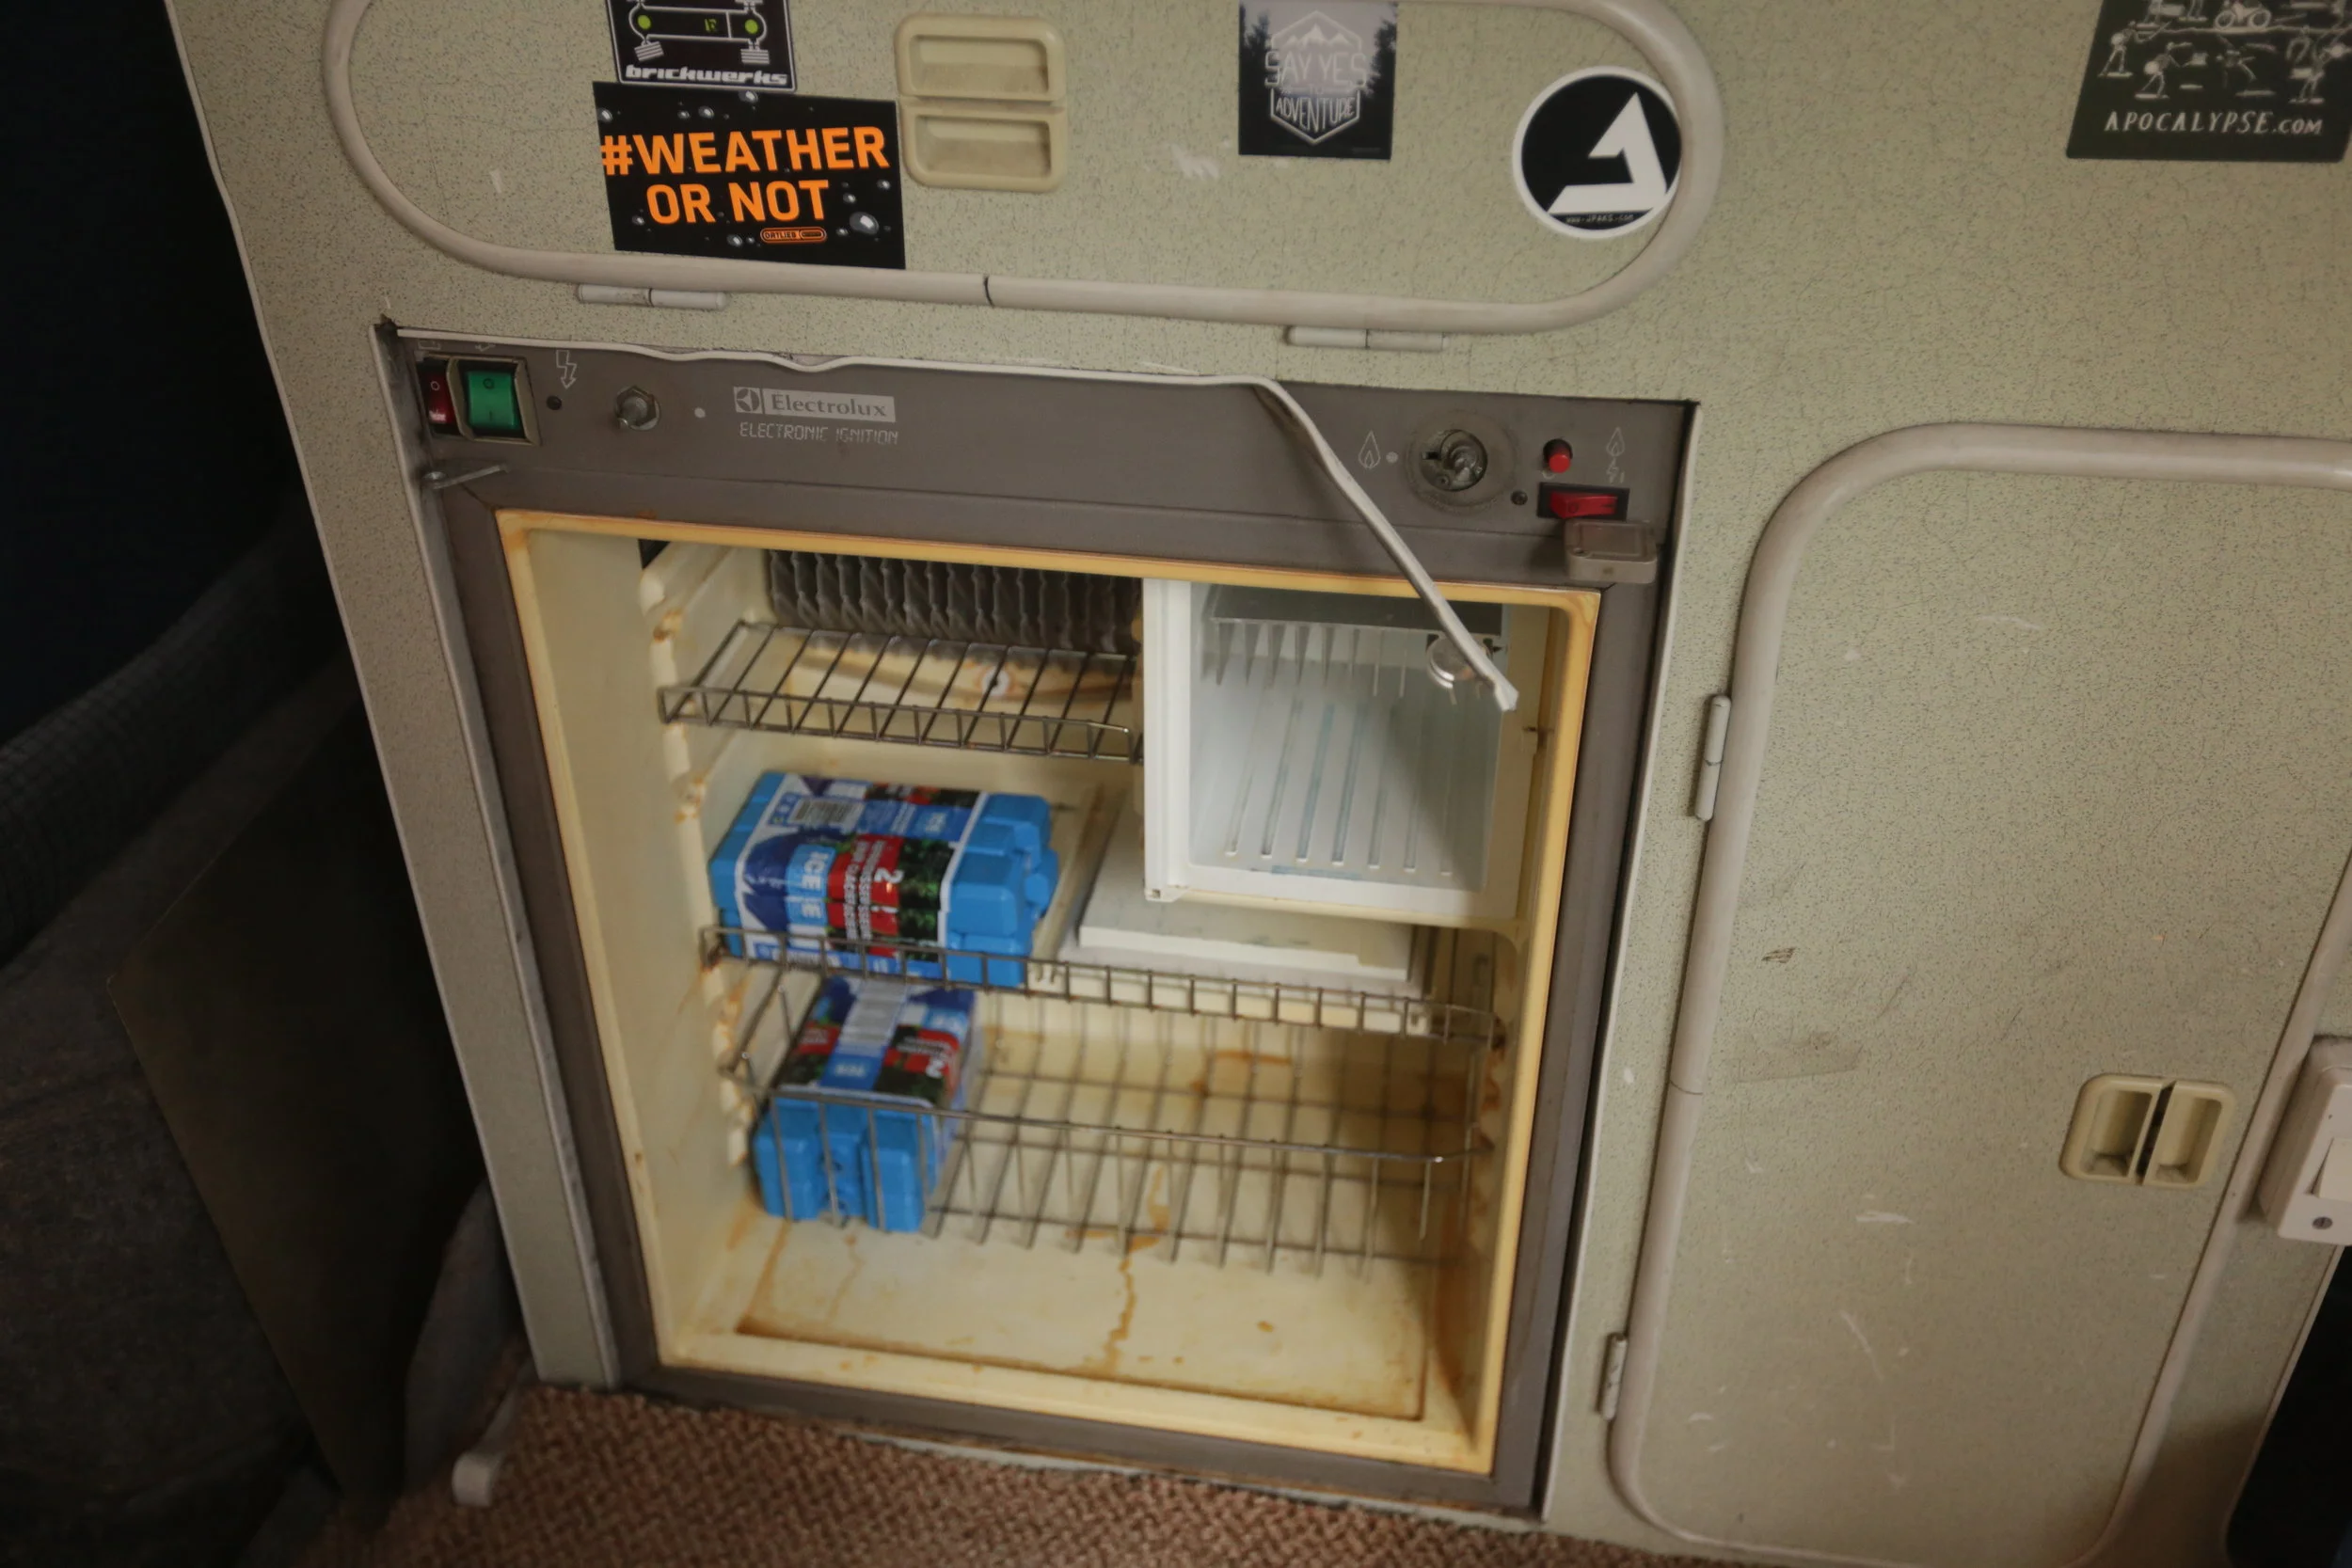
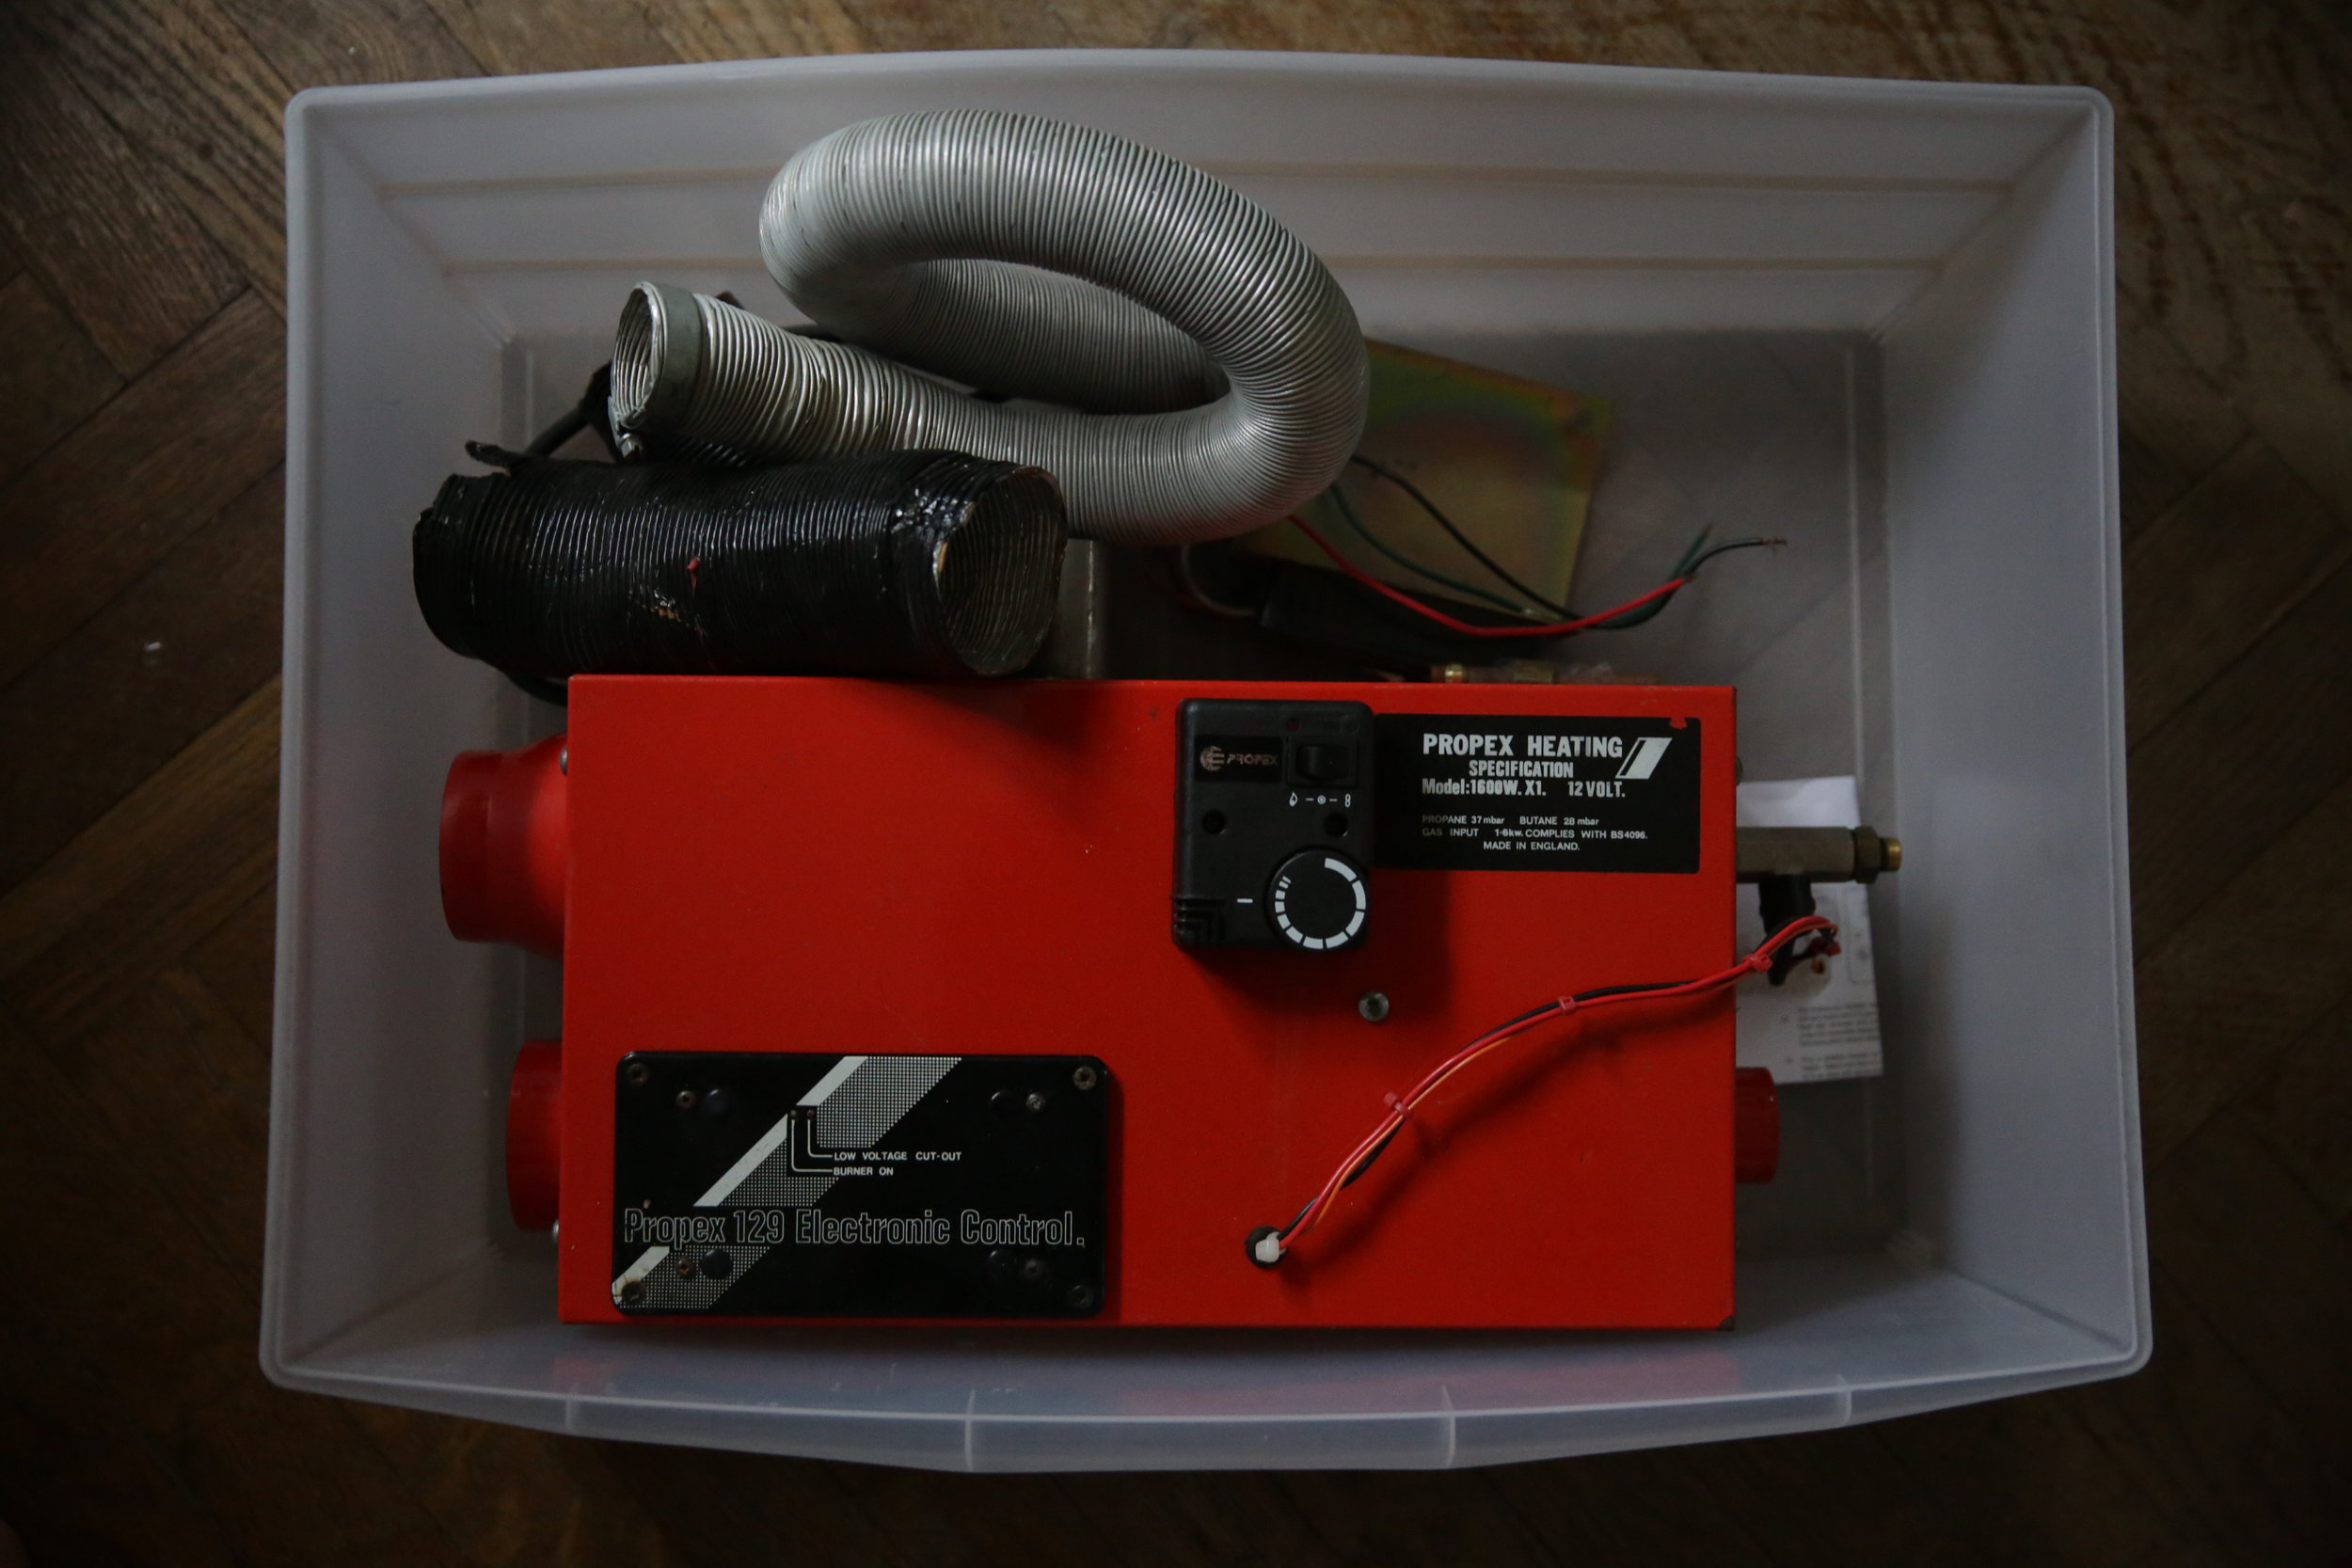
Propex: One of the most common questions I get on the road is how do you keep warm in the winter?! The truth is I’ve lived in my van for the past three years and up to last winter I’ve had no heater in the van. As an explorer I’m used to living in the wilderness during extreme cold weather in just a tent and therefore see the van as luxurious even without heating. The reality is I don’t spend an awful amount of time in the van during the day and keep warm during the evenings by combining a down sleeping bag & winter duvet. However, that’s not to say its been easy and getting up in the mornings ready for work when it’s literally freezing inside can be laborious. Thus, I decided to invest in a second hand Propex 1600 and it has to be one of the best vanlife investments I’ve made. My unit has been fitted at floor level to ensure the warm air rises throughout the living space and the exhaust pipe utilises the existing fridge vent ( this was a complete stroke of luck as I removed the fridge last year and the Electrolux vent fits the Propex exhaust perfectly. I don’t use the heater liberally and limit use in extreme cold weather to 30 mins in the morning and 1 hour in the evenings….but my god the results are phenomenal! During my time on Skye I would wake up ten mins before I needed to get out of bed, switch on the propex and by the time I got out of bed I was met with a toasty warm home…happy days. These units, much like the Eberspachers are superb, but if like me you’re a full time vanlifer it’s worth noting that they do eat through gas pretty quickly. I’m not suggesting they’re super expensive to run, but they certainly can eat through a gas bottle quickly if used for extended periods. Thus, I recommend tactile usage to prevent frequent gas refills.
Inverter: Those of you who’ve followed my vanlife journey will know that a couple of years back my Syncro was completely done over in Spain ( by the security staff in a ‘ secure ’ car park…long story ). Well, I lost almost everything and its actually taken me almost 2 years to replace everything that was taken. One such item was my fancy inverter and unfortunately I simply cannot afford to reinvest the same sort of money into another one. However, owning an inverter for my life on the road is essential so I took a leap of faith and purchased a cheap Ebay option…and actually its been great! It has 4 USB inputs, 2 x 12V inserts and finally 2 standard plugs. I just use it for charging my laptop, camera gear, drone and other relatively small electronic devices so I can’t vouch for bigger gear but I’ve been very pleased.

Carb Rebuild: The van does 20 – 30k a year on the road so servicing is essential and over the past three years the Syncro has wanted for nothing. However, the one big service I’ve not been able to afford until this year ( and still hurt ) was a carb rebuild/tune. The van had always performed poorly on cold mornings and during my time on Skye this year it started become unbearable. On cold start up I’d have to sit stationary for a good 40 seconds revving just to prevent the van cutting out. Moreover, at low speed you’d have to give it the beans at junctions to prevent an unexpected stall. Thus, I really had no choice but to take the hit and send my Carb off to John the Pierburg guru at Broomyard VW. I opted for the most expensive full rebuild which came in at a painful £415 ( inc postage ), but you get what you pay for and I’m happy to pay for a quality service. So was it worth it?! Yes. Yes. Yesssss. Honestly, I tried everything to get the syncro running sweet and this was the one investment that transformed my van. The first morning I started the van after the rebuild I simply turned the key and it idled beautifully. The engine purrs through every gear ratio and the whole van feels smoother and even benefitted from a small increment in fuel economy. I can honestly say that besides getting my 4WD operational again the carb rebuild has been the best investment I’ve made to the van. My only negative comment is a small drop in acceleration, but this will be remedied with a little adjustment.

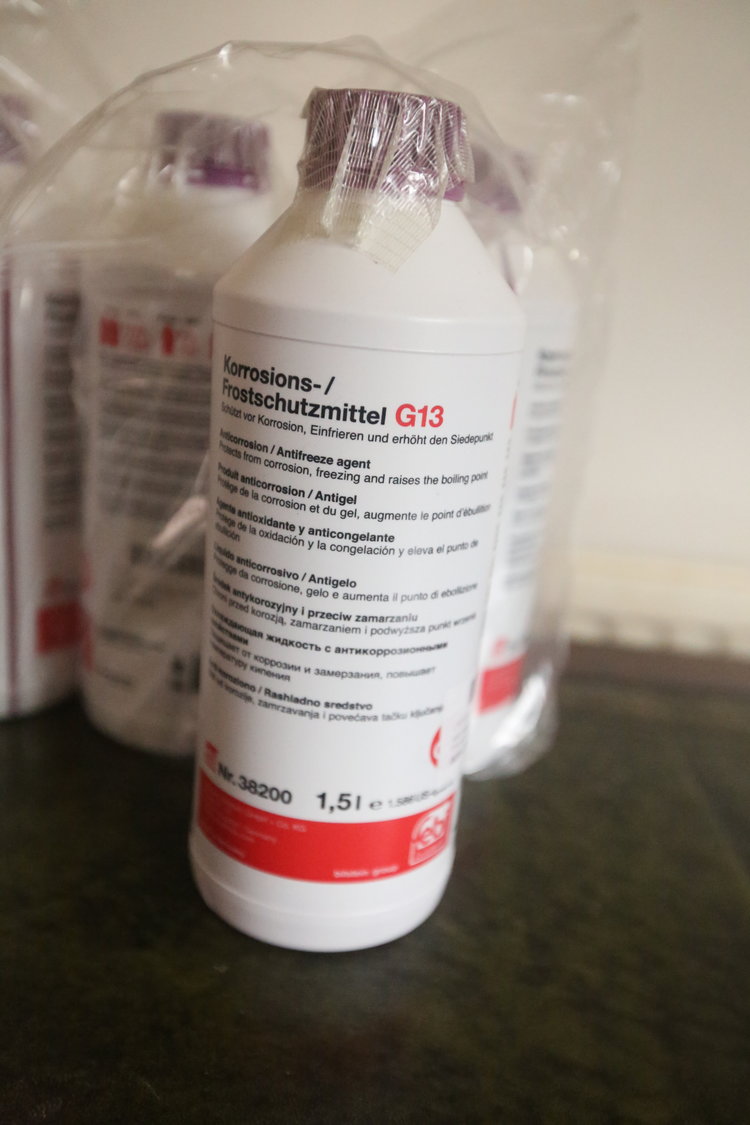
Coolant Change: The WBX enthusiasts among you will know that arguably one of the biggest problems with these engines is the risk of them rotting internally due to infrequent coolant changes or the incorrect product being used. This is another of those subjects that has a tendency of separating opinion and it leaves owners like myself a little unsure what advice to take. I would say that overall the consensus suggests that we should change are coolant ( G13 ) every two years to prevent internal rotting, but I try to do mine every year and a half due to the extreme mileage I rack up. Thus, pre-Norway I bit the bullet and changed the coolant for piece of mind.
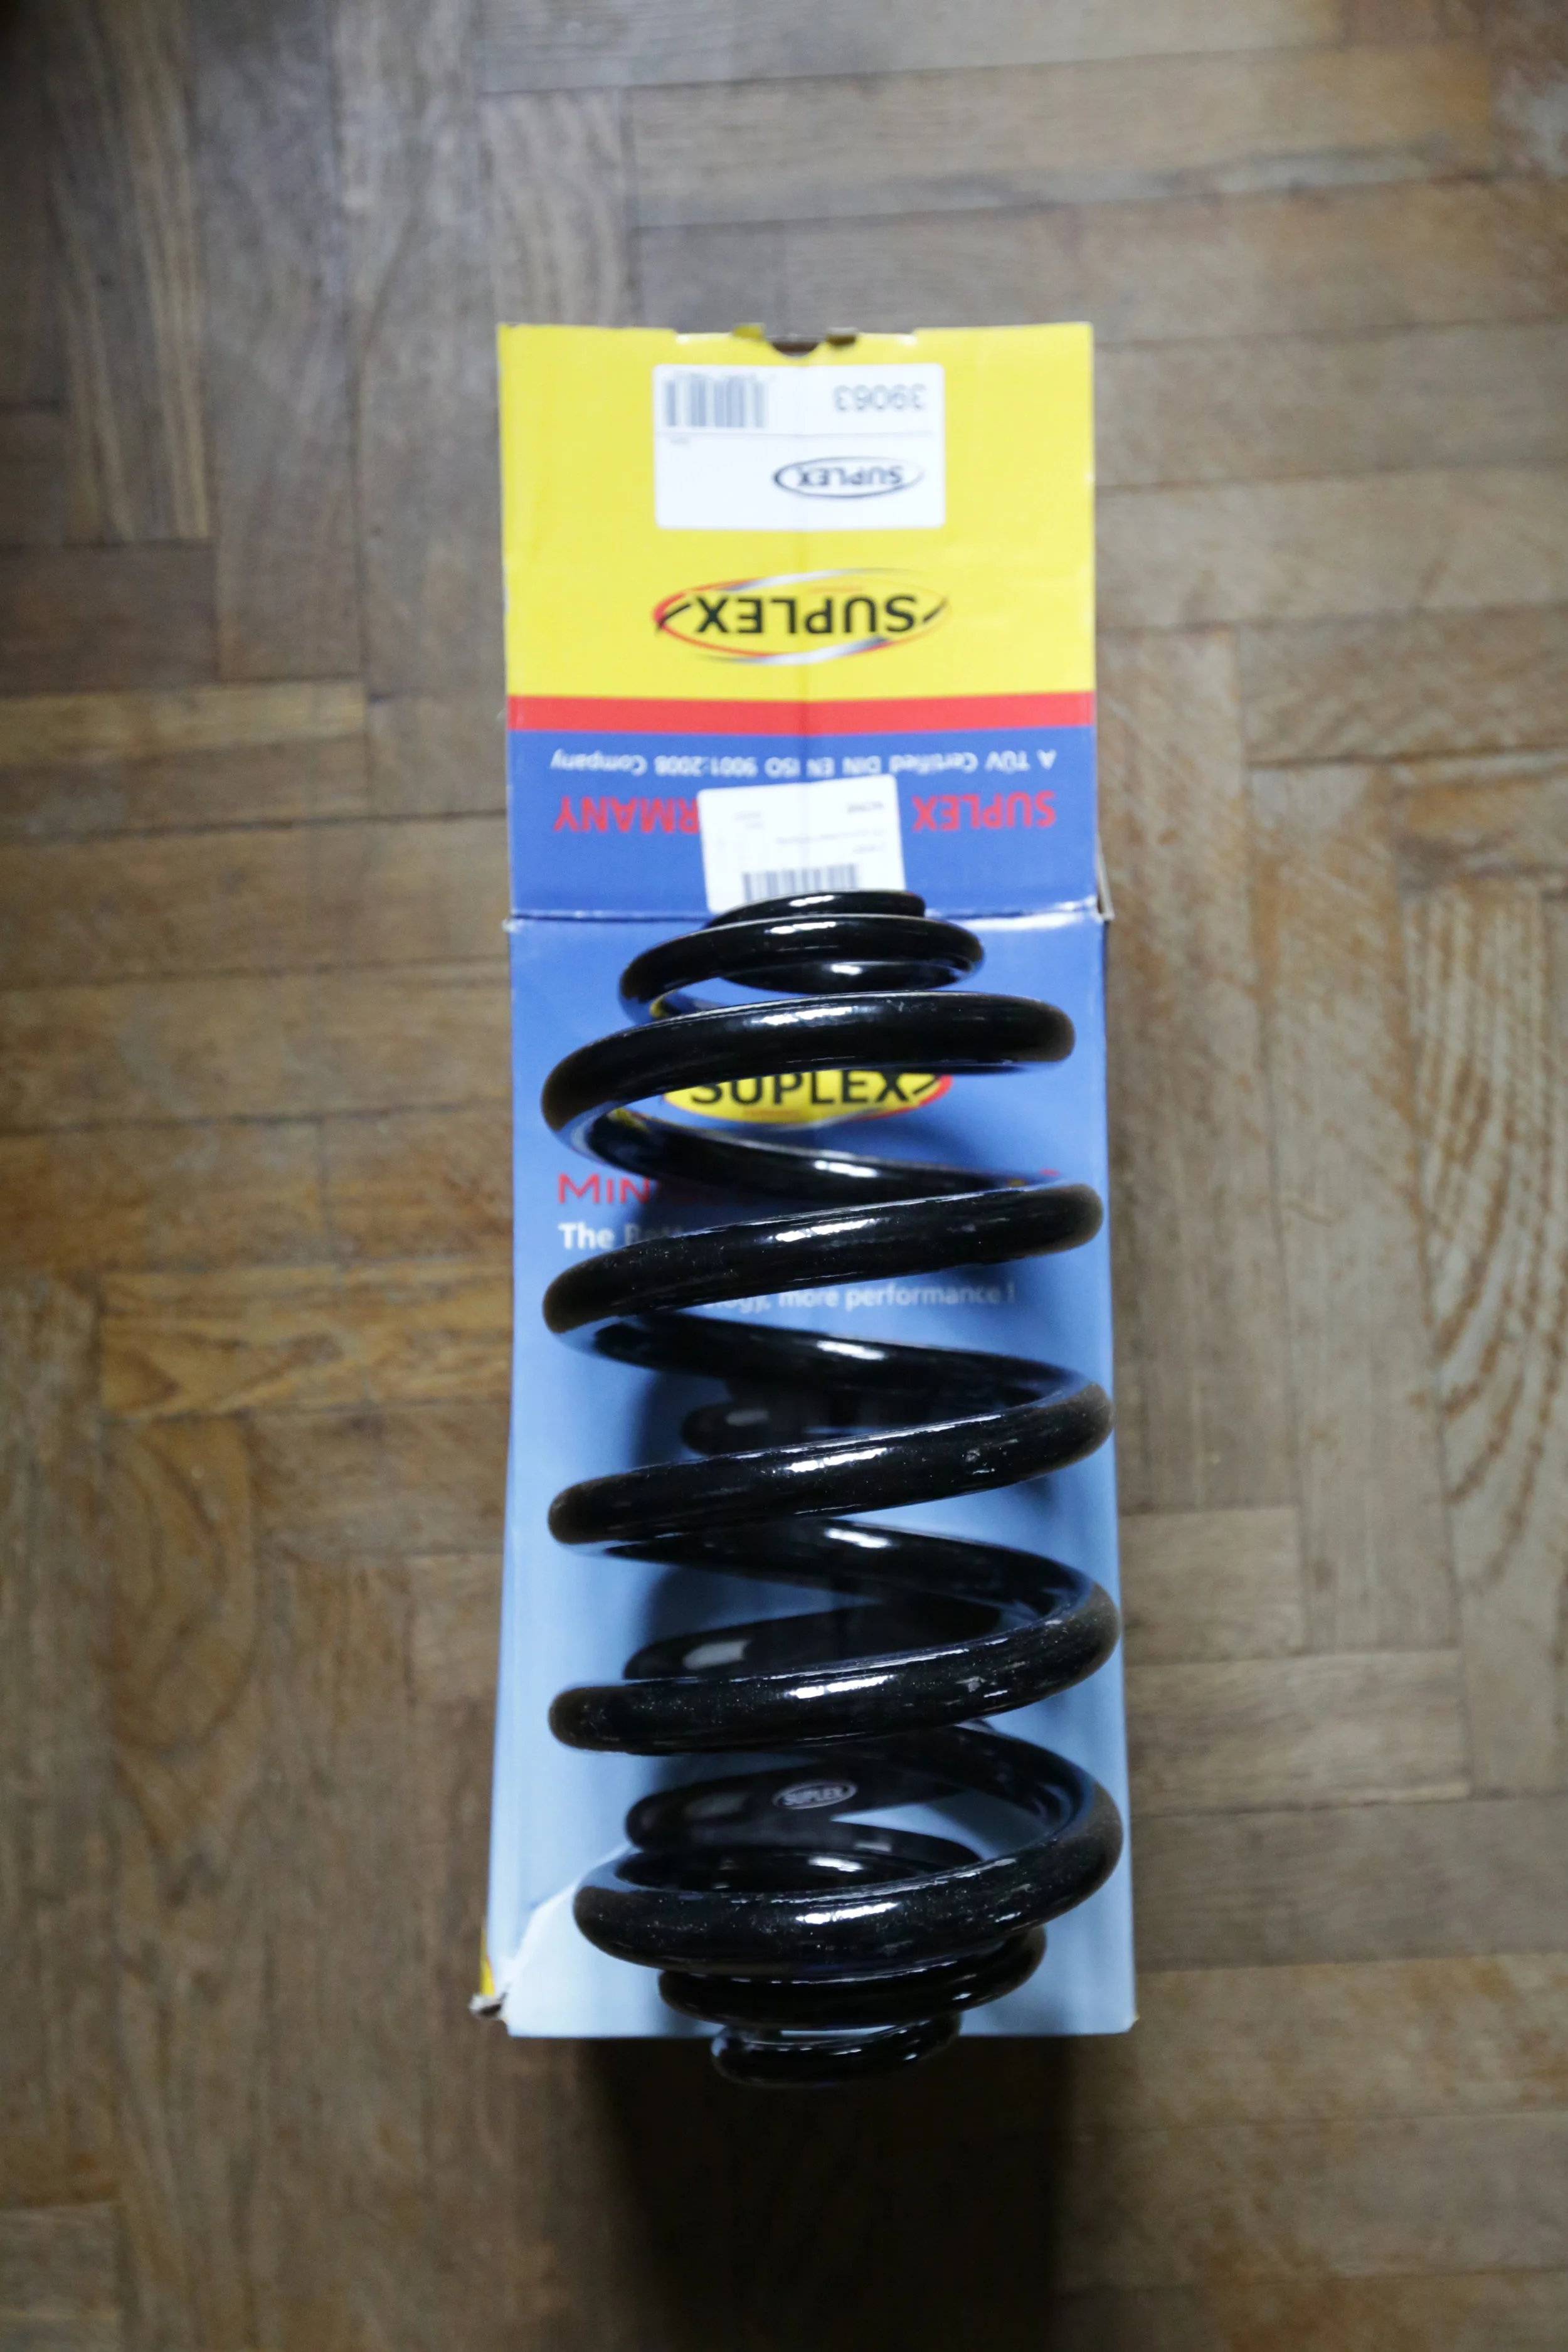
Rear Springs: So much of the money I spend on the van goes unnoticed and I’m a big advocate of focusing 90% of my time/money on the mechanicals and structural integrity of the van. I’ve had a broken rear spring for a while but haven’t been able to get the van off the road or decide what to replace it with over the last few months. Thus, once I returned to kent I finally decided to get the two rear springs replaced and after long consideration opted for some stock syncro springs over the Campervan Culture Go Westy lift springs ( the CVC option are excellent and I was very very tempted, but I think that’s a decision for another day ). If you’re considering a Syncro this is another example of where you pay over the odds for parts as stock springs had to be custom made for about £100 each ( standard T3 springs are approximately £60 ).
Oil/Filter Change: Oil & coolant are arguably your engine’s lifelines so neglecting them or not changing regularly can have catastrophic consequences. I appreciate these ( like coolant changes ) aren’t directly build related but hopefully this advice will help other T3 owners ( or any vehicle for that matter ) avoid untimely engine issues. I ideally change my oil/filters every 4,000 miles ( but this often becomes 6,000+ as it’s not unusual to rack up 3,000 in a month and I sometimes can’t find the time ). N.B. It’s also worth noting that I changed my gearbox oil in January as I had no idea if it had ever been changed and anything to extend the life of my transmission is money well spent.
Metal Plates on exterior: I’m in the process of completely rebuilding the inside of my van and last summer removed the huge inefficient three-way fridge from the van. However, this revealed two tatty white air vents that let in a considerable amount of rain and wind. The former was soaking some of my wiring to the engine so it was imperative to get them covered up asap, whilst they needed to be plugged to prevent huge amounts of heat loss in the winter months. At this point it’s important to let you guys know that my van still has a skylight window for air circulation and is poorly insulated so there’s no risk when burning gas. In the end my mechanic blocked the vents up with some alloy plates, which do the job!